Creating a Custom Label Template
Customizing a label template begins by selecting an existing label template to use as a starter, and modifying it to meet your needs.
- Start the label designer from the Print Labels or the Arc Flash Hazard Report toolbars. When the Label Designer is displayed, you are presented with a list of the available label templates and a preview sample of the currently selected template, using the currently selected device.
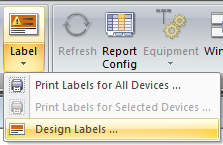
Figure 1: Design Labels Command
- In the Label Designer window, click on the different label templates in this list to see a preview of each of the different label templates available. The list of devices from the Arc Flash Hazard report is also displayed here so that you can see how each label changes for different equipment.
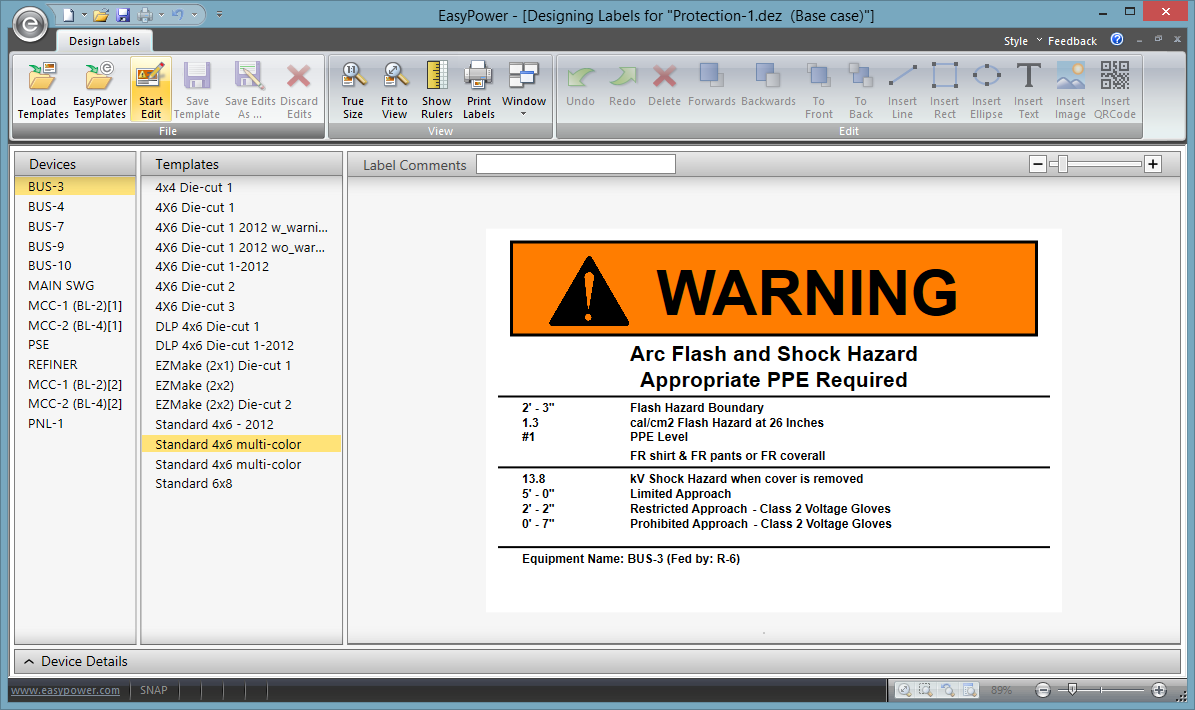
Figure 2: Design Labels Window
- After you identify which template you want to modify, click Start Edit on the Design Labels toolbar. This lets you make modifications to the label.
- Modify the label to meet your needs. Test out the changes to the label by choosing different devices from the Devices list to ensure that the label draws correctly under different conditions.
- When you are done, click Save Edits As on the Design Labels toolbar to save your modified template as a new template. Provide a unique file name for the new template. Be sure to save the new template to the same folder to make that template available when printing labels.
- Click Print Labels on the toolbar to preview and print labels with the new template.
More Information