Print Properties
Each of the dialog boxes opened by clicking  Print has a Properties button. The Properties dialog box changes the parameters appropriate for the window that you are printing, (such as graphics or text). You can change things like paper size or page orientation (portrait or landscape). This dialog box is specific to the selected printer and may look different from one printer to the next. For example, the Properties dialog box for the HP LaserJet 5000 Series PS looks like this:
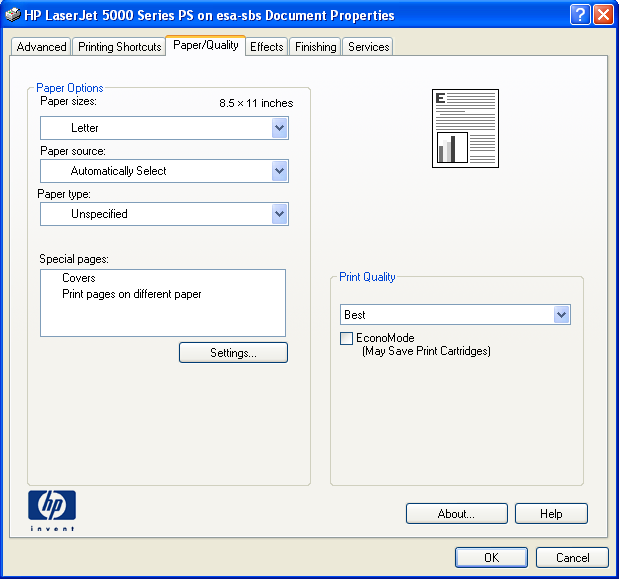
Figure 1: HP LaserJet 5000 Series PS Properties Dialog Box
Changes you make in the Properties dialog box do not affect other applications, but they are saved from one EasyPower session to the next.
Page Setup
Set the page margins by selecting the arrow next to ![]() Print, and then clicking Page Setup. The margins are given in inches from the edge of the paper. If a one-line is active, it applies to one-lines. If a text report is active, it applies to text reports. The paper size defaults to the size you last selected for the current default printer.
Print, and then clicking Page Setup. The margins are given in inches from the edge of the paper. If a one-line is active, it applies to one-lines. If a text report is active, it applies to text reports. The paper size defaults to the size you last selected for the current default printer.
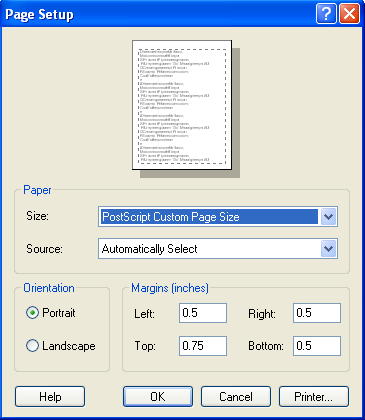
Figure 2: File Page Setup Dialog Box
Print Preview
Select the arrow next to ![]() Print and click Print Preview to see what a one-line or text report will look like before you print it. The Print Preview dialog box is almost identical to the regular Print dialog box except that when you click OK, the one-line or report will "print" to a Preview screen. The Preview screen offers you several options:
Print and click Print Preview to see what a one-line or text report will look like before you print it. The Print Preview dialog box is almost identical to the regular Print dialog box except that when you click OK, the one-line or report will "print" to a Preview screen. The Preview screen offers you several options:
- Print: If you are satisfied with the way the document looks, click this button to send the document to the printer.
- Next Page: If there is more than one page, click this button to show the next page.
- Prev Page: After you have used Next Page, you can click this button to go back.
- Two/One Page: This button acts as a toggle, enabling you the choice of viewing one or two pages at a time.
- Zoom In/Out: These two buttons enable you to zoom in and out. While in Print Preview, you only have three specific zooms.
- Close: If you decide you don't want to print the document, select this button to close the preview.
Printing to a File
Some companies share a printer among many users by requiring them to generate print files or plot files, which are then sent to a central computer for printing or plotting. If this is your situation, select the Print to file box in the Print One-line or Print Text Report dialog box. You will be prompted for a file name just before the file is created.
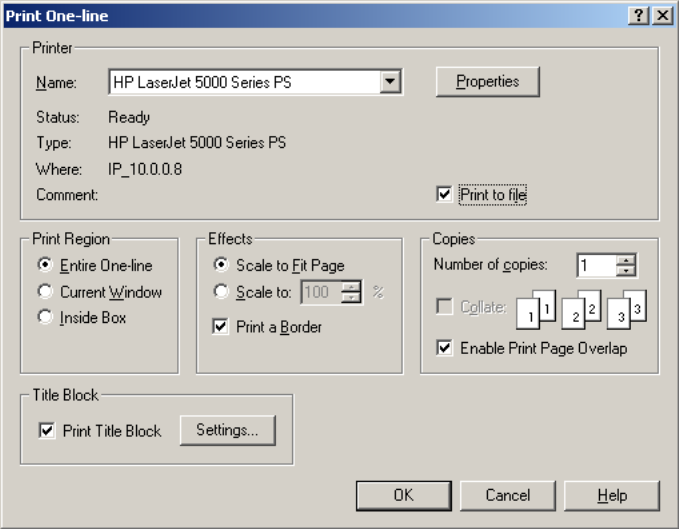
Figure 3: Print One-line Dialog Box with Print to File Selected
Printing to Acrobat Distiller
If you have the Acrobat Distiller software installed, you can print to it. This will create portable documents in PDF format. To create PDF files, select Acrobat Distiller as the destination to print to in the Print dialog. You can print one-lines, TCC plots, harmonics scans, spreadsheets, analysis reports and arc flash labels.
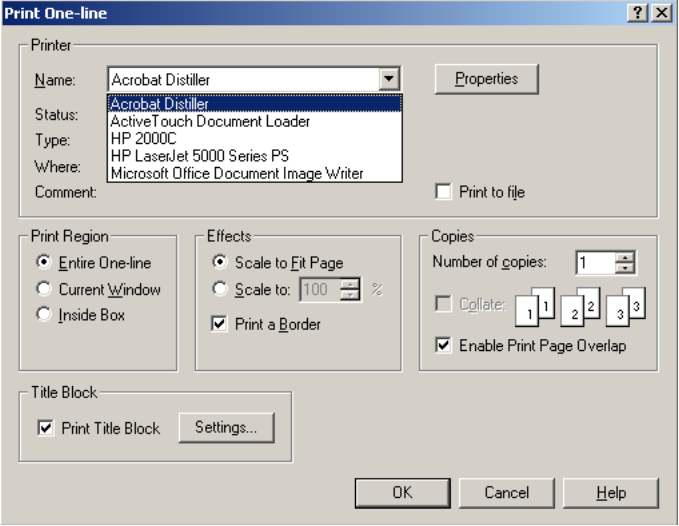
Figure 4: Printing to Acrobat Distiller
More Information
| Printing and Plotting | Printing MCCs and Panel Schedules |
| Printing a One-Line | Printing Text Reports |