Printing to Custom Label Stock
EasyPower ships with several pre-configured page layouts that match common label stock, but you may use a label stock which is not already built-in. In this case, you need to specify a custom page layout to match your label stock. This topic guides you through that process.
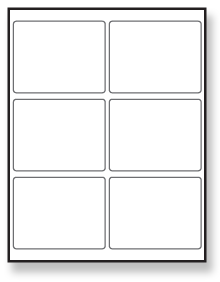
In this example, we will configure a page layout using an 8.5 x 11 inch page containing six 4 x 3 inch labels. Below is a picture of the layout of labels on the label stock that we will match with our page layout controls.

Figure 1: Label Stock
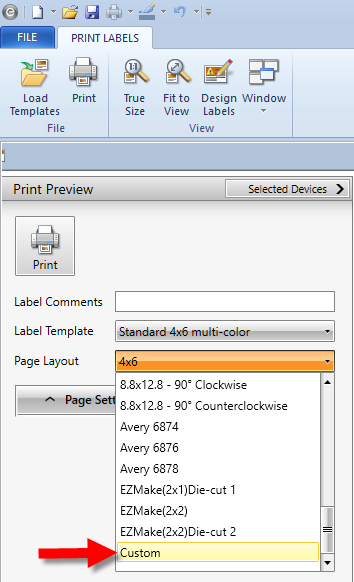
- From the label Print Preview window, in the Page Layout list, click Custom.

Figure 2: Custom Page Layout Option
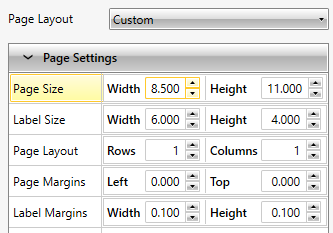
- Click Page Settings to expand the Page Settings pane.

Figure 3: Page Settings
- Specify the size of each page of labels in the Page Size fields. In this case, we are configuring a page with is 8.5 inches wide and 11 inches high.
- Specify the size of the label itself. Specify 4 inches wide by 3 inches high.
- Specify the number of rows and columns of labels. We have 2 columns and 3 rows.
- The page margins, or margins from the outside edge of the page to the edge of the label, are .2 inches on the left and .75 inches from the top.
- The label margins, or spacing between labels, is a width of .1 inches and a height of .3 inches.
- Set Center Label and Scale To Fit to determine how you want the selected template to fit within the printed label.
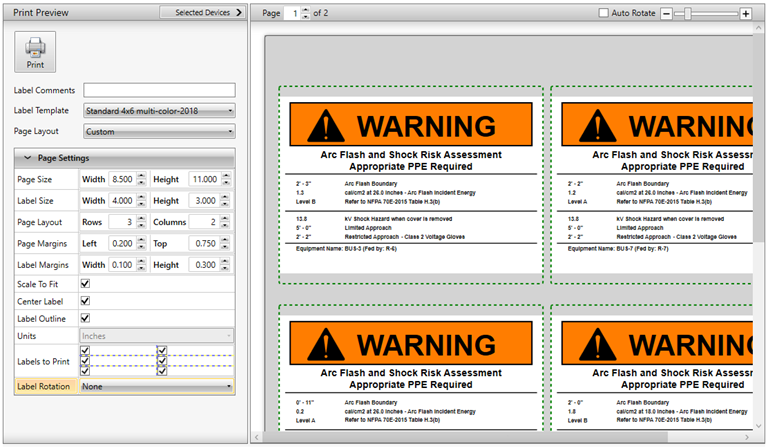
- To see how the template will be printed within your label area, select the Label Outline check box. This adds a green dashed line onto the preview illustrating where the labels are on the page. This outline is not actually printed. The preview should look similar to the following:

Figure 4: Label Preview
EasyPower remembers your custom page layout and uses it the next time you print.
