Designing Labels in Other Languages
You can modify the existing label templates to create labels in other languages. In this topic, we discuss how you can create label templates for additional languages.
Some things to consider before you start:
- The labels reflect the units set up in your Short Circuit Options on the Arc Flash Hazard tab for incident energy and working distance.
- Depending on the language used, you may have to adjust font sizes or location of the text boxes so that the translation fits on the label.
- If you choose to save your templates in a different folder than Documents\EasyPower 11.0\AF Labels, you may want to use Tools > Options > File Locations to specify the arc flash label template location. Alternatively, you can use Load Templates from within the Label Designer to select a different location. This automatically resets the file location for arc flash label templates. Note that you also need to copy the file PageLayoutTemplates.xml from the AF Labels folder into your custom folder to avoid receiving an error message when you open the custom templates.
- There is an option in the Label Designer on the Template Properties pane to select the Language for the template. Currently, this only affects which month names are used when the names are written out. Only French, Spanish, and English are supported.
Save a Copy of an Existing Template
Before you begin, it is best to find an existing template from which you want to copy the layout. You should save this template with a new name so you can easily identify your customized template.
To do this:
- Open an existing .DEZ file and go into the Short Circuit focus. For our example, we'll use Protection-1.dez, but any file that has complete data will work.
- Click Fault Bus(es).
- Click Arrange for Arc Flash to open the Arc Flash Hazard report, and then select the report window to make it active.
- On the Arc Flash tab, click the arrow under Label, and then select Design Labels.
- Click Maximize
 to fill the EasyPower window with the Label Designer.
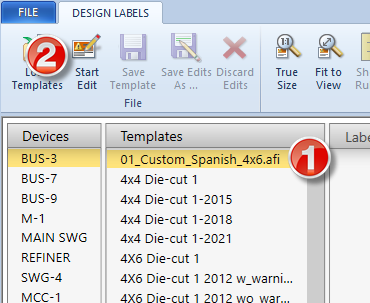
 - Under the Templates column, select the template on which you want to base your new template. For our example, we'll select the Default 4x6 With Colored Header template.
- Click Start Edit.
- Make a small change to the template. For example, you can click on the "Warning" text on the label and in the Text box, add a space after the word "Warning." This changes the template so that you can save it with a new name.
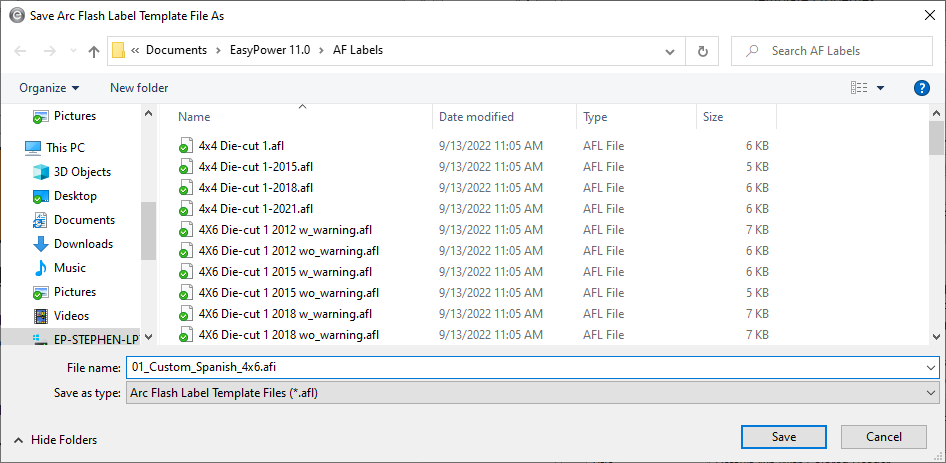
- Click Save Edits As. (Note that you do not want to use Save Template as this will overwrite the current template.)
- Type a new name for the template in the File Name box, and then click Save. For our example, we will use 01_Custom_Spanish_4x6.afi for the label. This puts the label at the top of the template list and makes it easy to identify as a customized label.
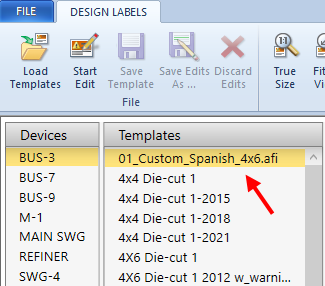
- Note that the newly created template now appears in the Templates column at the top of the list.

Modify the Custom Template
Now that you have a custom template you can modify, you can update the template with the language of your choice. For this example, we will use Spanish. We have already specified our incident energy to display cal/cm2 and working distance to display inches. .
- With the Design Labels tab in view, select the name of your custom template from the Templates column, and then click Start Edit.
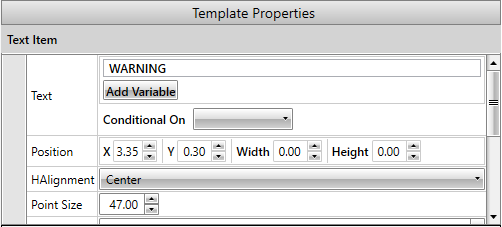
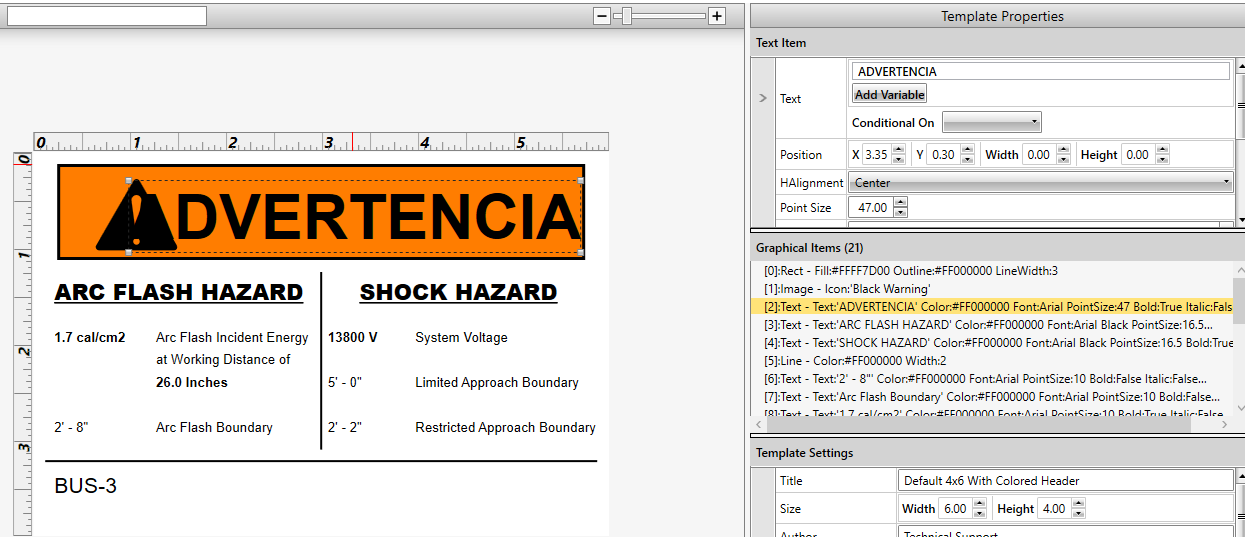
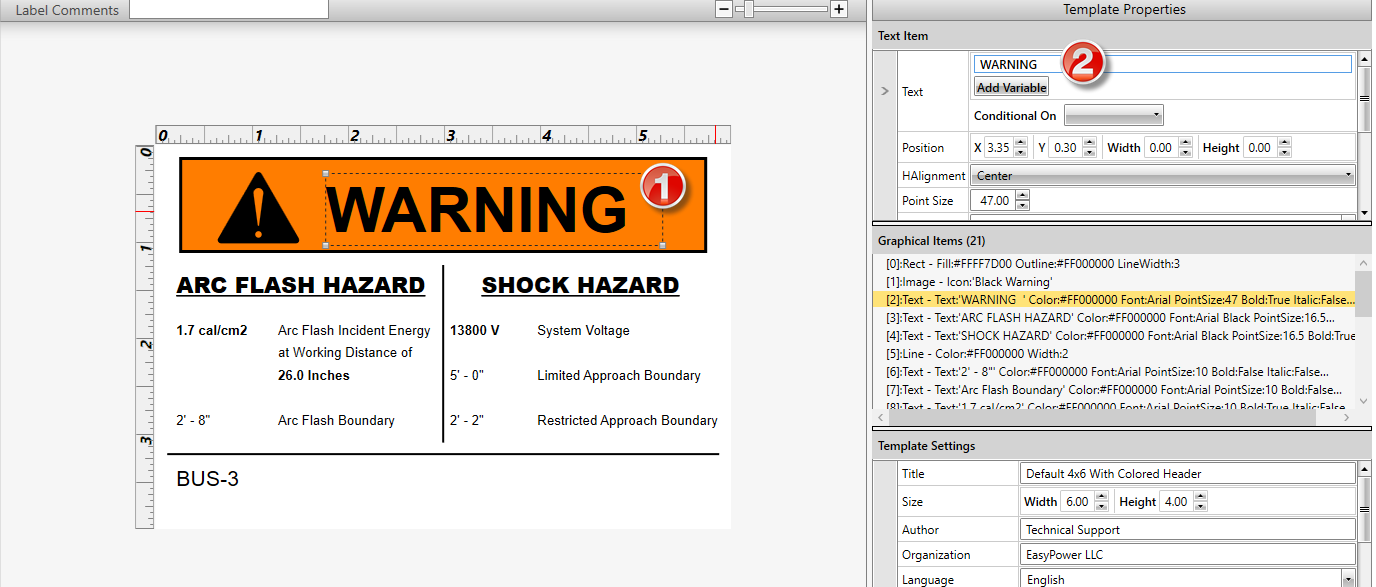
- Select the "Warning" text on the label. Notice that the Text Item area on the right displays the text.
- Replace the text with your Spanish translation. (You may choose different terminology than we are using—this is only for example.)
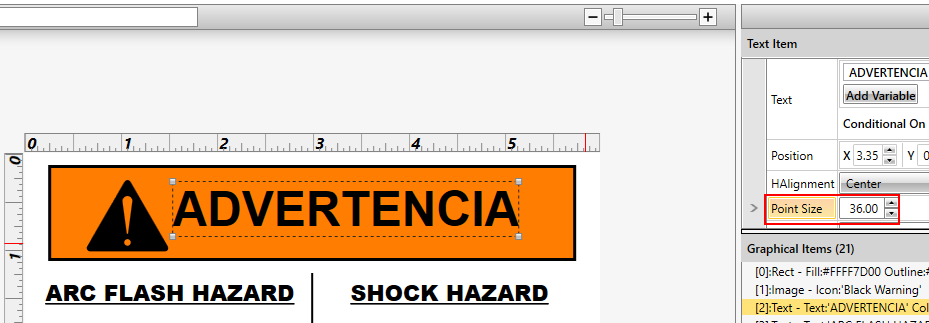
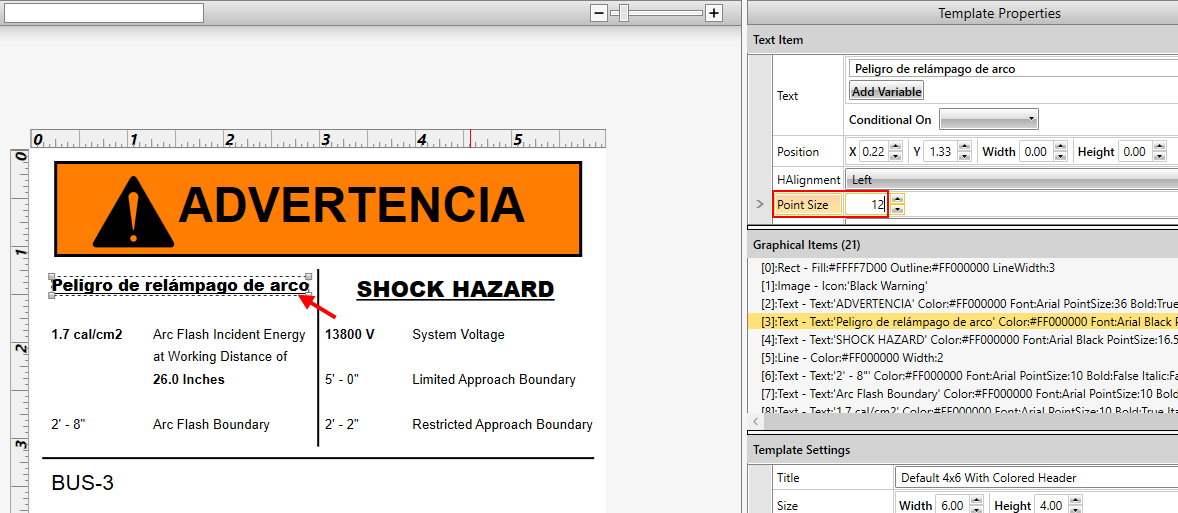
- Notice that the text in the label is too large to fit and partially covers the warning icon. To fix this, change the Point Size to a smaller number. Here, we have select 36 points.
- Select the next text area and replace the text. Notice that the point size of the font needs to be changed again to make the text fit. Keep track of the font sizes you are using so they are consistent for each of the different text labels in the different parts of the label.
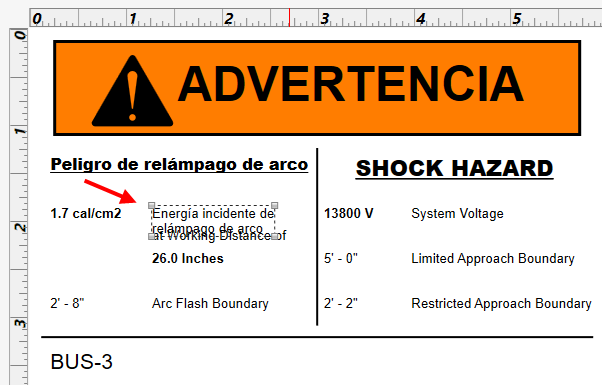
- Select the next text block to edit. Notice that the text is too long to fit. You can use a smaller font or adjust the location of the text box so it fits better in the space provided.
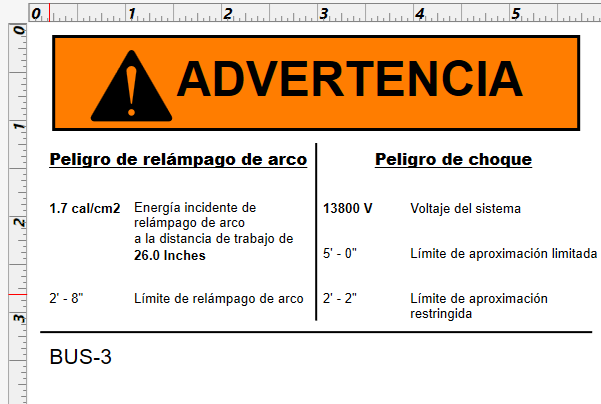
- Repeat these steps until all of the translations are complete.
- When you are satisfied with the changes, click Save Template. You can now use this template to print your labels.