Adding Display Conditions
You can add display conditions to each of the format fields or text. This determines whether the text appears.
To add conditions to fields or text:
- Click Tools > Options select One-line text.
- Next to One-line Text for, select the item for which you want to add a condition. For this example, we have chosen LV Breaker.
- In the format box, select the field or text to which you want to add display conditions. You can drag a new field to the box, if desired. For our example, we have added the connection type (Conn Type) field. The area on the right displays the sample text "Feeder." At this point, no conditions are applied.
- Click Add Display Condition.
- Select the conditions you want to be true that will cause the selected field or text to display. In this example, we have selected to display the Conn Type field value when the connection type is equal to Feeder.
- Note that the preview column is set to "Feeder," and the Preview area displays the text, "Feeder."
- Click Add Display Condition again.
- Select the next display condition. In this case, we want to also display the value when the Conn Type is equal to Tie. We use an "or" statement because we want either condition to be true.
- Note that the preview area still displays the text "Feeder." This is because the first condition is still true.
- In the preview column on the right, clear the Conn Type text and note that the text no longer appears in the Preview area. This is because the When blank, display box is set to display nothing when the field is blank.
- In the Preview column on the right, change the Conn Type text to Tie and note that text appears in the Preview area.
- Click OK, and then click Save to store the template changes to the one-line.
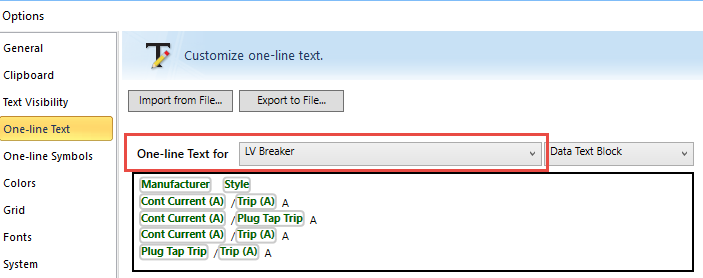
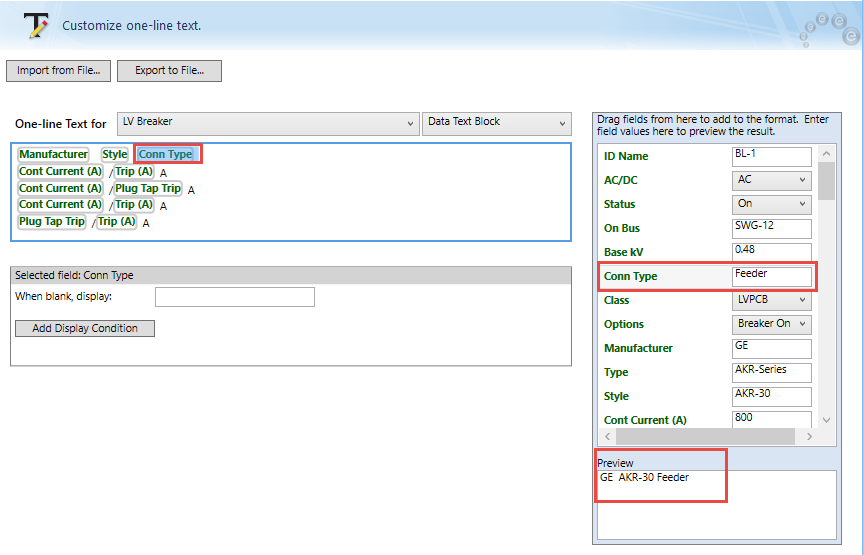
Figure 1: Selecting a Field to Add a Display Condition
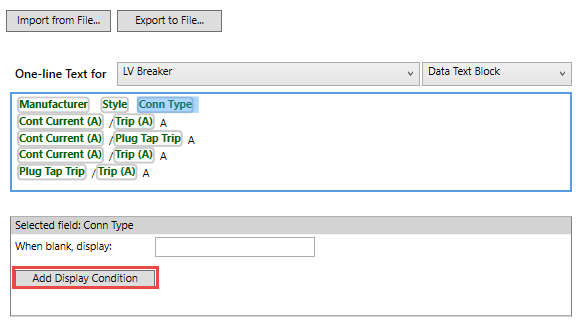
Figure 2: Adding a Display Condition

Figure 3: Display Text when Connection Type is Equal to Feeder
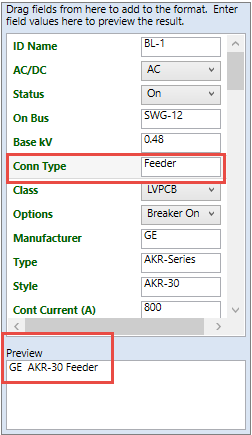
Figure 4: Display Condition Preview
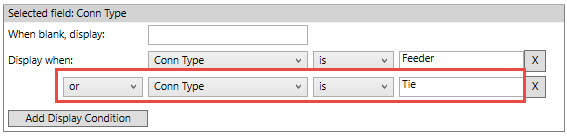
Figure 5: Adding an "Or" Condition
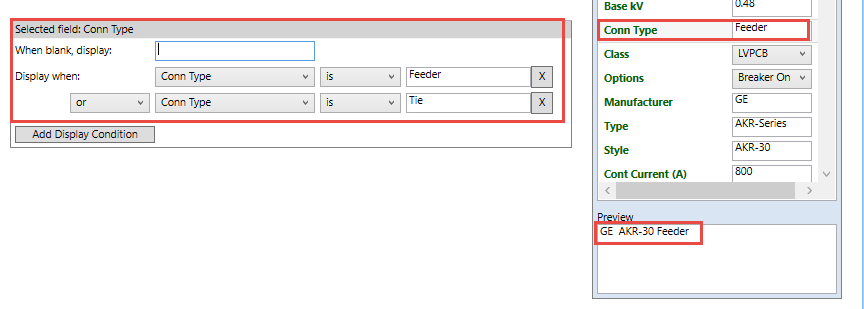
Figure 6: Display Condition Preview Still Shows "Feeder"
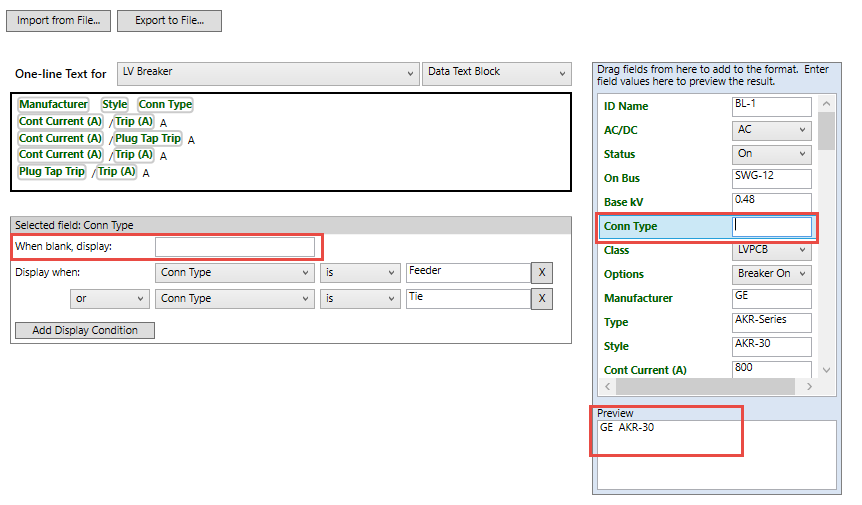
Figure 7: Connection Type is Not Displayed in Preview
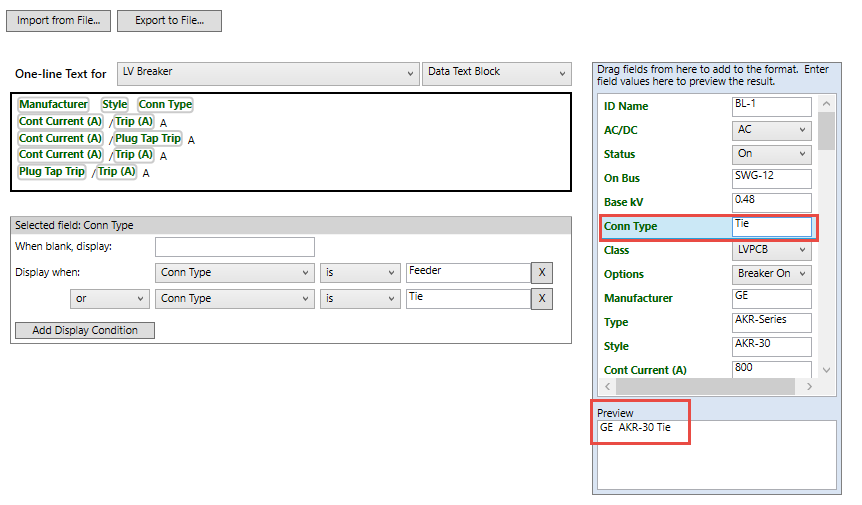
Figure 8: Tie Connection Type is Displayed in Preview
Note: If you do not click OK and Save, the custom template formats are not saved to the one-line.