Note: This tutorial is for Revit 2024. If you are using an earlier version of Revit, see Tutorial - Revit® Integrator (Revit Only) For Revit Versions Prior to 2024.
This tutorial describes how you can use Revit Integrator if you do not have EasyPower installed but want to export a Revit file for importing into EasyPower. For example, you might use this if you are a Revit electrical designer and need to provide EasyPower engineers with a file on which they can run design or analysis tasks. Later, you can import new changes the EasyPower engineers have made back into Revit.
Exporting the Revit Project to a File
- In Autodesk® Revit®, open the Sample Electrical Project.
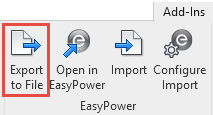
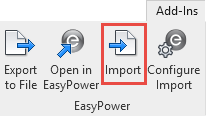
- Click the Add-Ins tab, and then click Export to File.
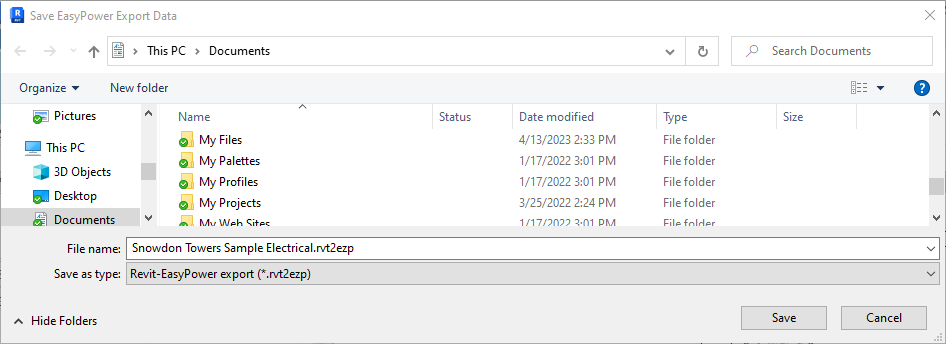
- Select the name and location where you want to save the export file. You can change the name, but do not change the .rvt2ezp file extension. Click Save.
- You can provide this file to EasyPower users for import into EasyPower.
Importing an EasyPower File Back Into Revit
After the EasyPower one-line has been created and modified, an EasyPower user can create an export file of updated information (including fault current and short circuit, power flow, and equipment sizing), which can then be imported back into Revit.
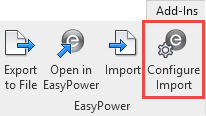
Note that you can configure whether information is imported and also control which parameters are used by clicking the Configure Import button prior to importing.

To import the file:
- In Revit with the Sample Electrical Project open, on the Add-Ins tab, click Import.
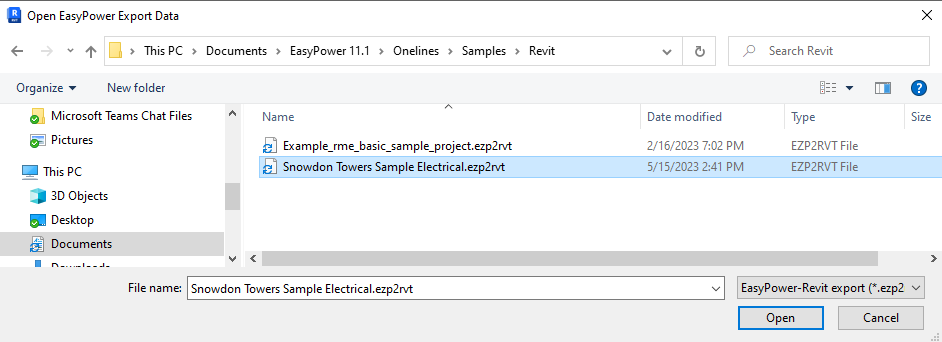
- Select the file that was exported from EasyPower, and then click Open. For the purpose of this tutorial, you can use the Snowdon Towers Sample Electrical.ezp2rvt file stored in C:\Users\{username}\Documents\EasyPower 24.0\Onelines\Samples\Revit.
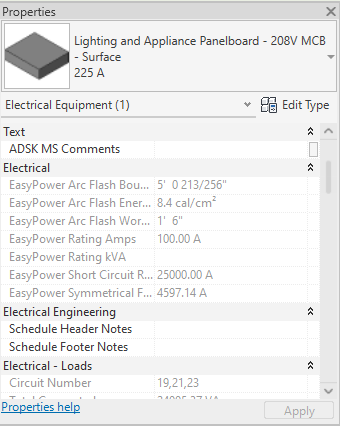
- Select a panelboard on the drawing and then look at the Properties pane on the left. Notice all of the EasyPower values under the Electrical heading.
Linking a DXF file to Revit
EasyPower can create DXF files that you can then link to in your Revit project. We have created a sample DXF file to demonstrate this feature.
-
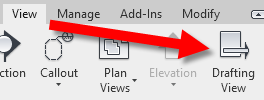
In Revit, from the View menu, click Drafting View.
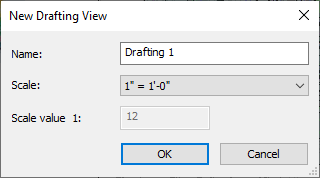
-
Provide a drawing name and set a scale value, and then click OK.
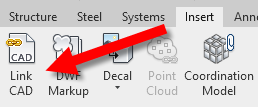
-
On the Insert menu, click Link CAD.
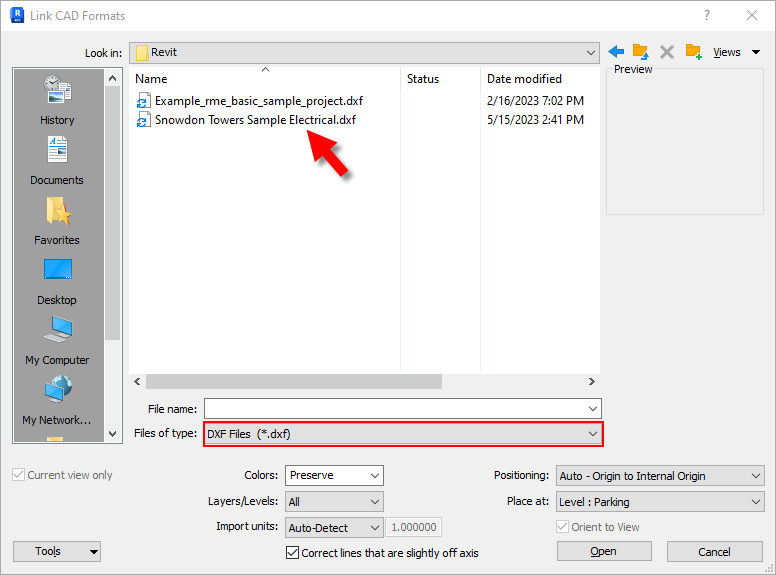
-
We have already created a drawing file for you to use in the example. In the Link CAD Formats dialog box, browse to the Revit samples folder located at: C:\Users\{username}\Documents\EasyPower 24.0\Onelines\Samples\Revit, change Files of type to DXF Files (*.dxf), and select the Snowdon Towers Sample Electrical.dxf file, and then click Open.
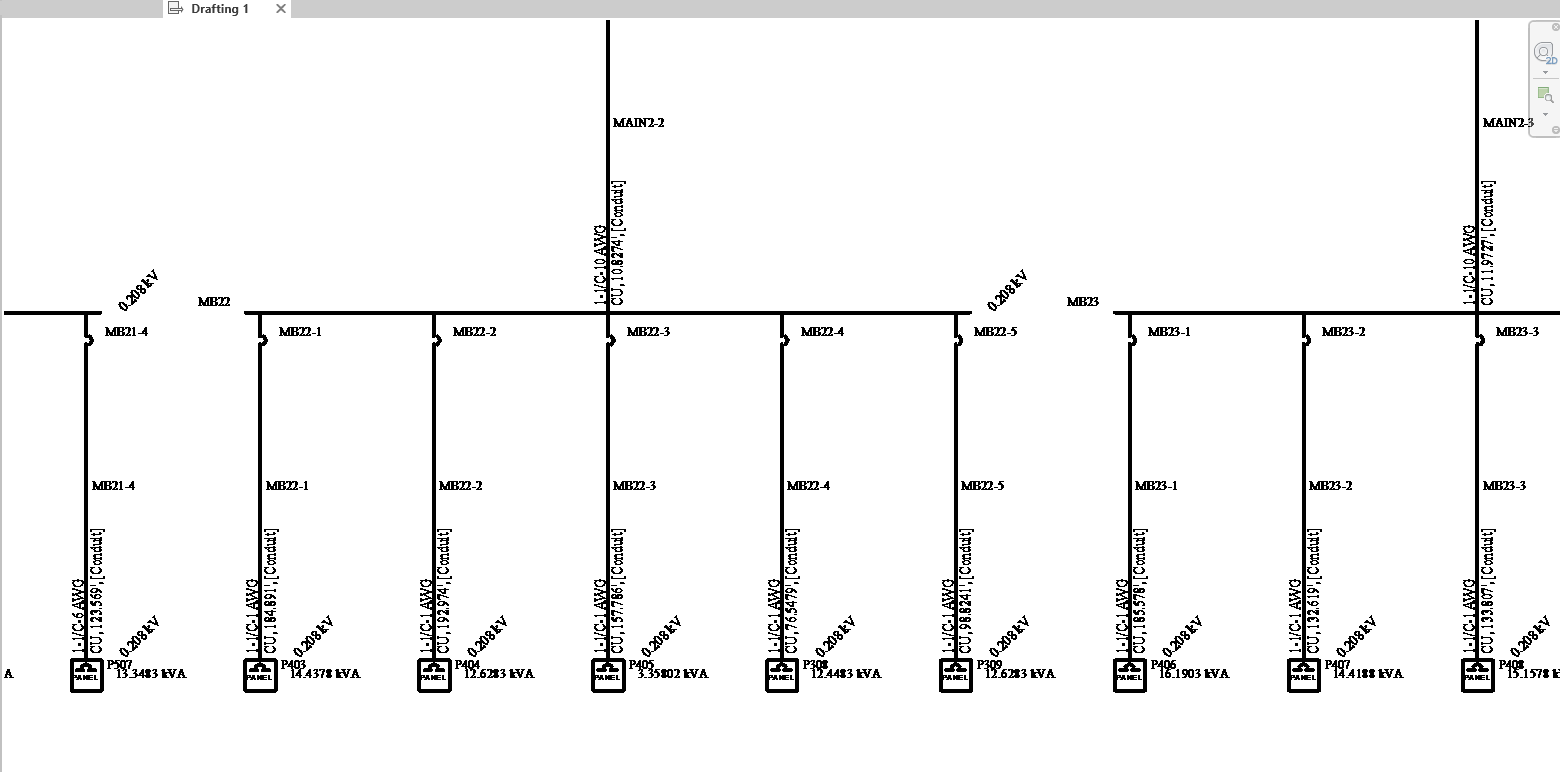
-
The one-line drawing is displayed in Revit. You can zoom in to view the one-line details.
Conclusion
This has been a brief overview of EasyPower’s Revit Integrator. The EasyPower Help topics cover this and other features in greater
depth. To open Help, click  Help in the upper-right corner of the EasyPower window or press F1.