To insert a subsystem into your one-line, you must have subsystem templates already created (see Creating a New Subsystem Template).
Template Locations
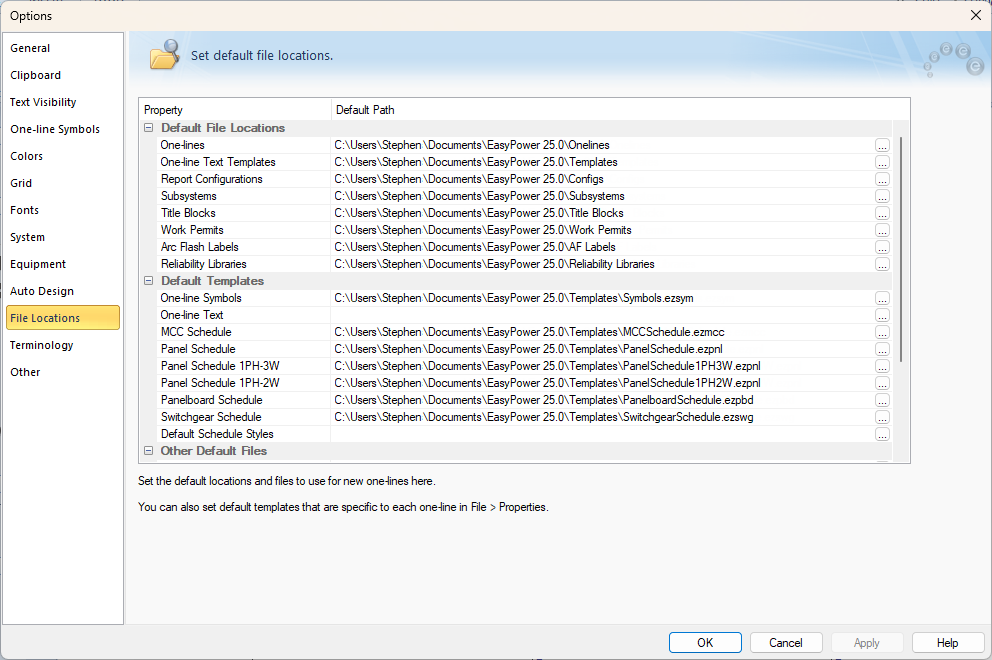
Subsystem templates are typically grouped together inside a template folder so that it is easy to locate them. To specify the default template folder for subsystems, select Tools > Options > File Locations. Under Default File Locations, double-click Subsystems, and then select the folder.

Figure 1: Default Template File Location
Inserting a Subsystem
-
To insert a subsystem, click Insert and then click
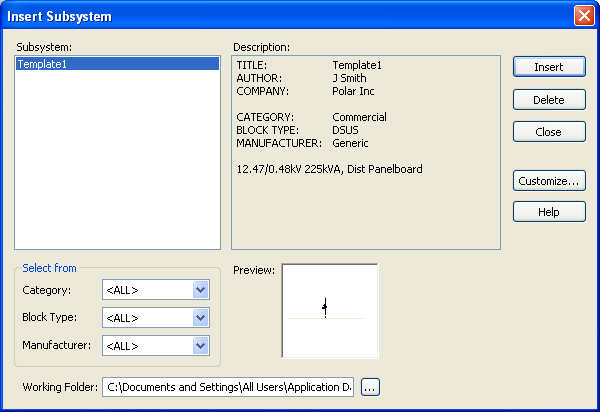
 Subsystem. The Working Folder from which the subsystem templates are available is the default folder specified in File Locations as described above. The subsystem template files existing in the working folder are displayed in the Subsystem panel. If no default folder has been defined, then the Working folder and other fields are blank. You can change the working folder by clicking
  Browse and then selecting the desired folder.
 -
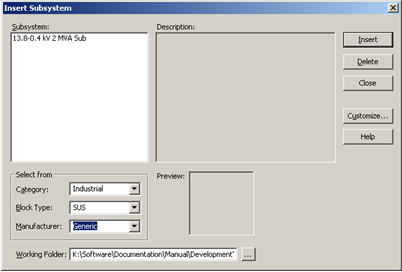
After selecting the working folder, search for the subsystem that you need. When the fields Category, Block Type and Manufacturer have the values <ALL>, all files in the working folder are displayed. To narrow your search, you can specify the category, block type or manufacturer that you are interested in.
-
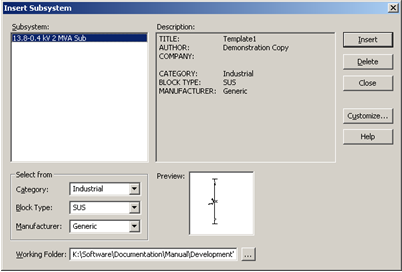
If you select a file, the description of the subsystem is displayed in the Description panel of the Insert Subsystem dialog box. A preview of the one-line is displayed.
-
To insert a subsystem, select the file name and then click Insert.


