Note: This tutorial is for Revit versions prior to 2024. If you are using Revit 2024, see Tutorial - Revit® Integrator (EasyPower Only) For Revit 2024.
This tutorial describes how you can use Revit Integrator if you do not have Revit installed but want to import an exported Revit file into EasyPower. For example, you might use this if a Revit electrical designer has provided you with a Revit export file on which you need to run some design or analysis tasks. You can then export the changes to a file that a Revit electrical designer can import back into Revit.
Import the Revit File
After a Revit electrical designer creates an export file from the Revit project, you can import that file into EasyPower to automatically create a one-line model. To import the Revit file, do the following:
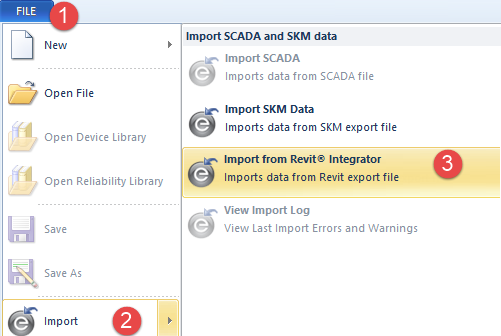
- In EasyPower, select File > Import > Import from Revit® Integrator.
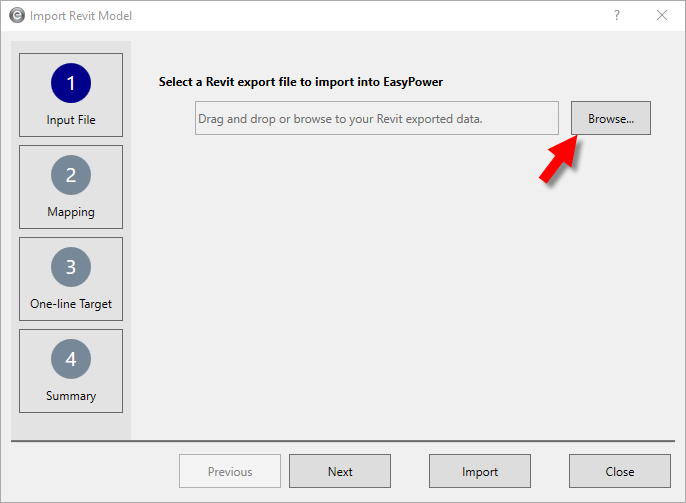
- On the Input File tab, click Browse to select the import file.
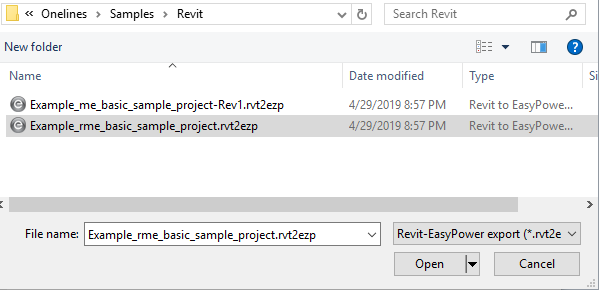
- Browse to C:\Users\{username}\Documents\EasyPower 25.0\Onelines\Samples\Revit and select the Example_rme_basic_sample_project.rvt2ezp file, and then click Open. This is a sample file that represents a file you might receive from a Revit electrical designer.
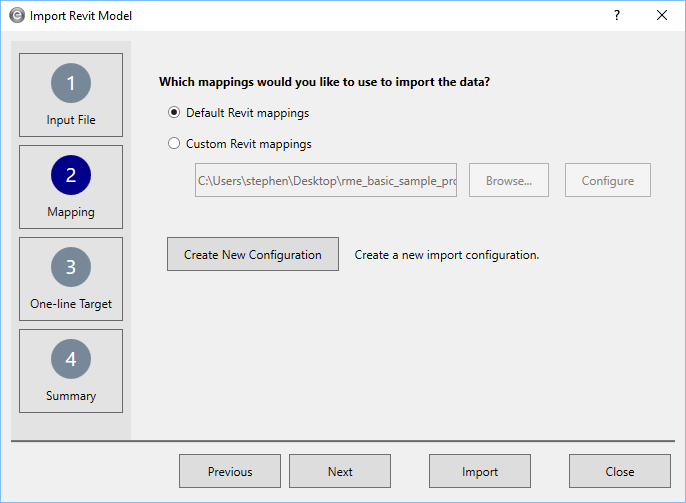
- Click Mapping. For this example, we will use the Default Revit mappings, but notice that you can also create custom Revit mappings and create new configuration files here. This gives you additional control over how data is imported and lets you create configuration files that you can reuse in future imports.
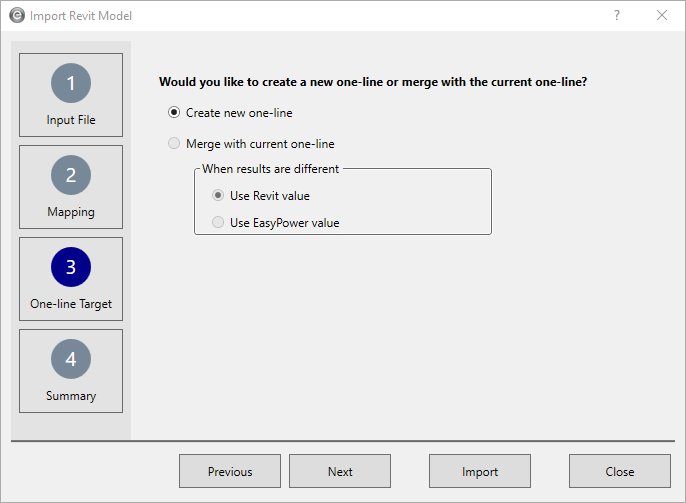
- Click One-line Target. For this example, we will select Create new one-line, but notice you can also merge the import data with a current one-line.
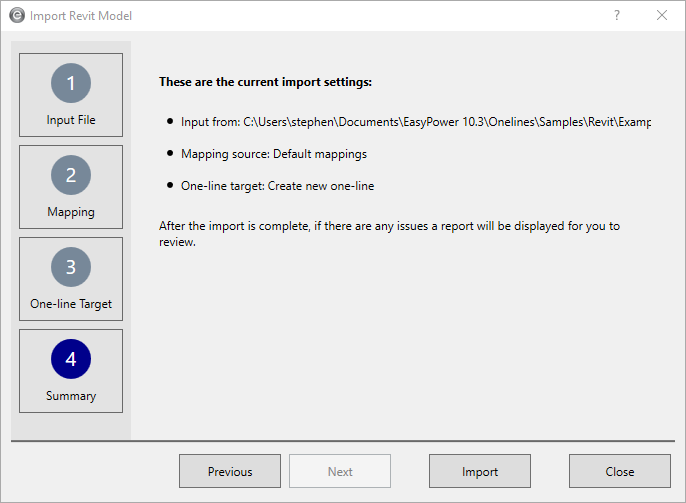
- If you click Summary, the program displays your import settings, but you can also just click Import at this point.
- EasyPower displays the one-line it created from the Revit project. The program also creates a report that describes any issues that were discovered. To view the report, click Window > Import Results Report.


View the Imported Revit Data
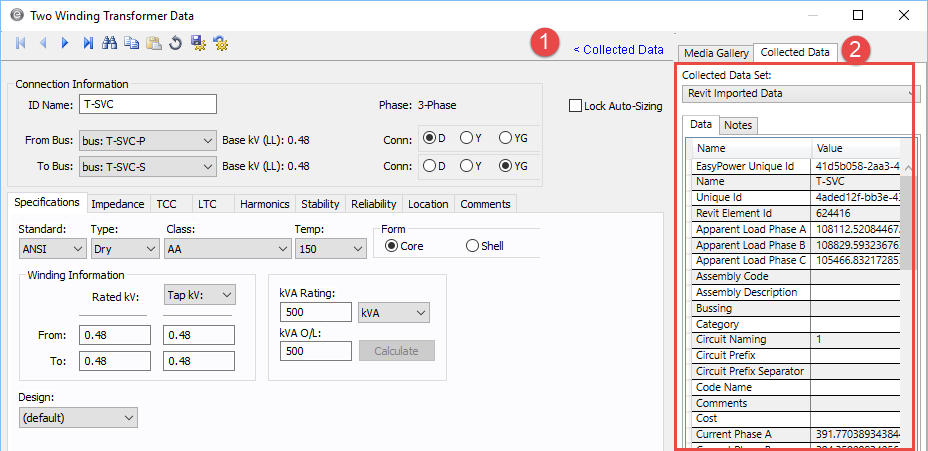
For each item on the one-line, you can view the data that was imported by selecting the Collected Data pane in the equipment data dialog box, and then clicking the Collected Data tab.
Perform Design and Analysis in EasyPower
Export to Revit
After you have made changes to your EasyPower one-line, you can export the changes into a file that someone can then import into Revit. To create the export file in EasyPower:
- In the Database Edit focus, click File > Export > Export to Revit® Integrator.
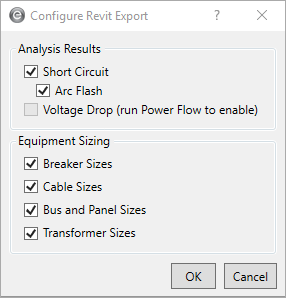
- In the Configure Revit Export dialog box, select the items you want to export. Then, click OK.
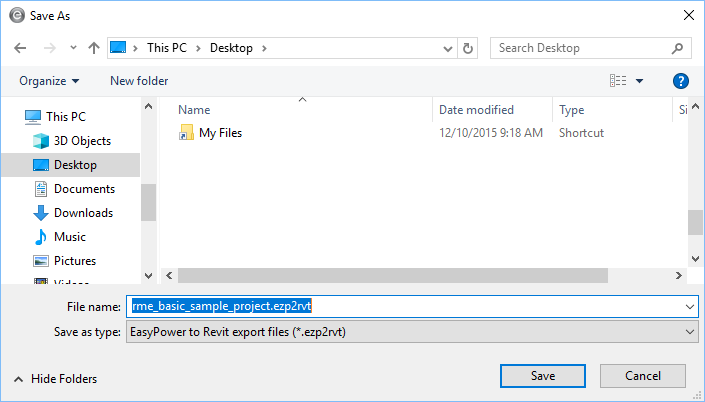
- The program asks you for a file name and location. You can use whatever name you like, but the file must have an .ezp2rvt extension. Make note of the file location, and then click Save.
Note: Power Flow Voltage Drop is only available if you run a power flow analysis and perform voltage drop calculations.
You can now send the export file to a Revit electrical designer, who can then import the file you created into Revit.
Conclusion
This has been a brief overview of EasyPower’s Revit Integrator. The EasyPower Help topics cover this and other features in greater
depth. To open Help, click  Help in the upper-right corner of the EasyPower window or press F1.