Auto Coordination Process
When using auto coordination to coordinate your complete model, it is best to start at the downstream devices, and then work upstream, so all dependent devices are coordinated properly. Using this process, you do not need to re-coordinate a device that has already been coordinated. The figure below shows a typical method of steps for auto coordination. It shows three groups of items to coordinate. Begin by auto coordinating the items in the circle on the bottom left of the one-line. Read through the Auto Coordination Report and verify all protective device settings are coordinated to meet your standards. Repeat this process for the group of items on the lower right side of the one-line. At this point, the lower portion of the one-line is properly coordinated. It is now time to auto coordinate the relay in the circle at the top of the one-line, since all dependent protective devices are properly coordinated. Again read through the Auto Coordination Report to observe the comments.

Figure 1: Order of Auto Coordination
Tips on Auto Coordination:
- When using Auto Coordination feature, plot a TCC of the group of items you are coordinating, and then run auto coordination from within the TCC plot. This facilitates visual inspection of the auto coordination process.
- To view the EasyPower one-line, TCC plot and Auto Coordination Report windows at one time, click Window in the Coordination tab and select Arrange For Auto Coordination, or press F8.
- Clicking Undo removes your last protective device database settings change.
- Remember to auto coordinate the most downstream equipment first before coordinating upstream equipment.
Lock Auto Coordination
The LV Breaker Data dialog box for each protective device has a Lock Auto-Coordination check box to prevent data changes that are possible through auto coordination.
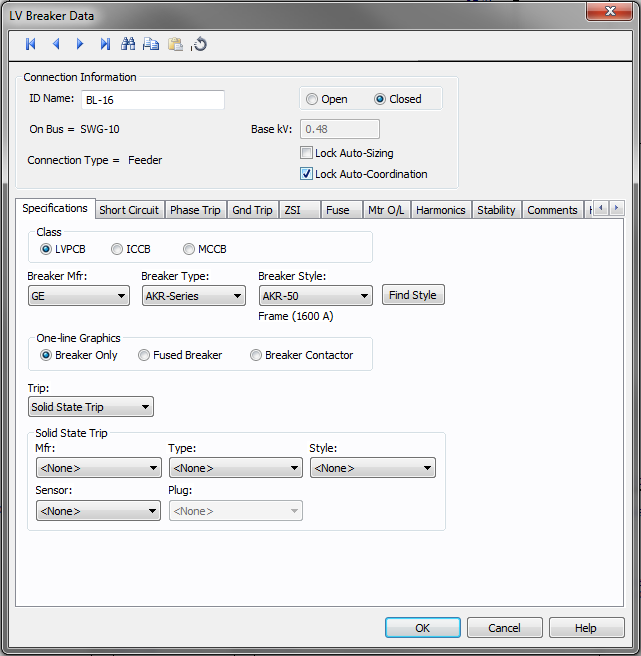
Figure 2: Lock Auto Coordination
For relays, auto coordination locking can be selected for each device function. On the relay Settings tab, select the check box in the Lock Auto Coordination in the System area of the dialog box for the function where you do not want auto coordination to change the settings.
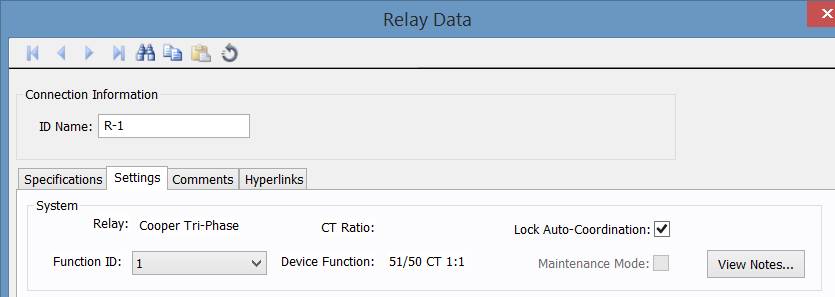
Figure 3: Lock Auto Coordination for Relay Function
More Information
| Auto-Coordination | |
| Auto Coordination Options | |
| Protective Devices that can be Auto Coordinated | |
| Auto Coordination Report |
|
|