Synchronizing Images Taken with an External Camera
EasyPower enables you to take photos with an external camera and later synchronize them with placeholders you create in the Media Gallery. When you synchronize the images, they are automatically associated with the appropriate equipment based on the date and time when the image was taken. This eliminates the need to manually link images and equipment items as the linking occurs automatically during synchronization.
When synchronizing images, the following formats are supported: .JPG, .JPEG, .PNG, .TIF. Media files that are imported through this process are automatically converted to the .PNG format.
Taking the Photos
The steps are as follows:
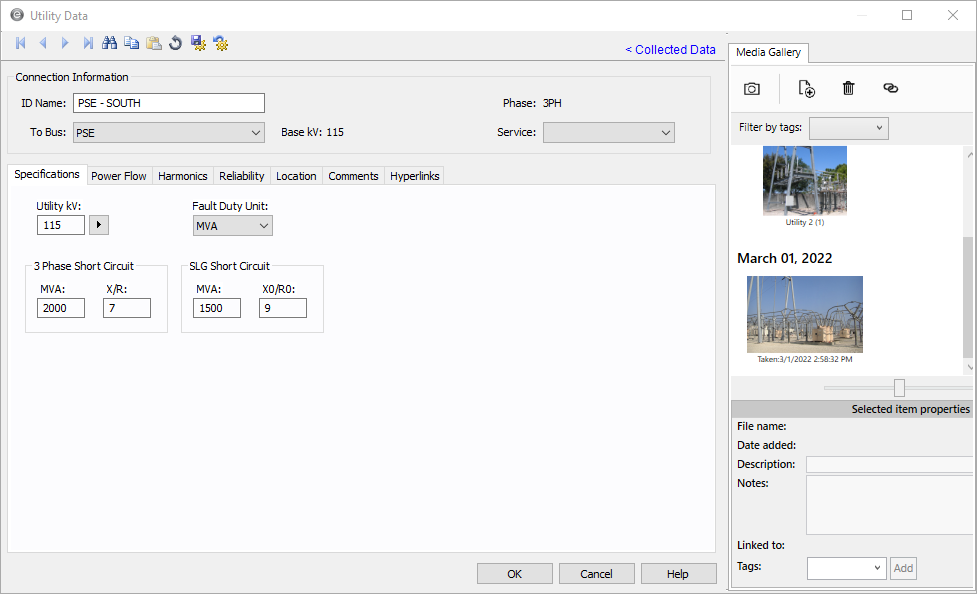
- In EasyPower, double-click on the equipment item in the one-line to open the data editor, and then click the Collected Data link.
- Click Capture Image
 .
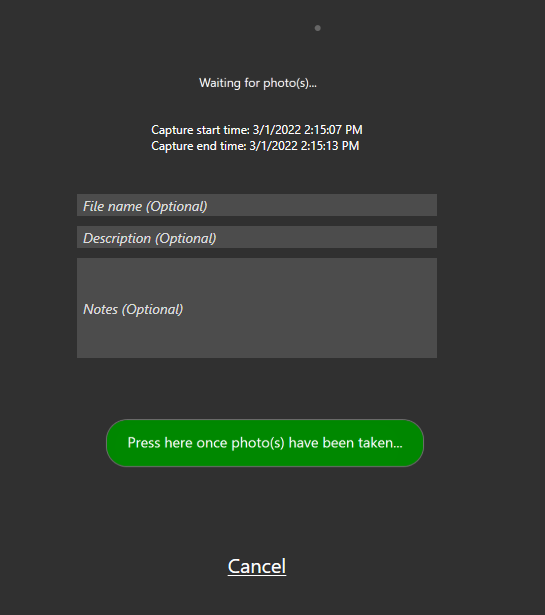
. - Click Wait for photo to be taken with external camera.
-
Take the photo with your external camera.
-
After the photo is taken, in EasyPower, click Press here once photo(s) have been taken.
-
Click OK to save the image placeholder to the equipment item.
Note: If you do not click OK here, the placeholder will not be saved and synchronization will not occur later.
-
Select the next equipment item, and repeat the steps above.

Note that you can select the checkbox to avoid seeing this prompt in the future–the program will remember the selection you made and always use that option.
Import the Photos
-
When all photos have been taken with the external camera, connect the camera to the computer where EasyPower is installed.
-
Copy the camera files to a folder on your computer using Windows Explorer. This ensures EasyPower will be able to find them properly.
-
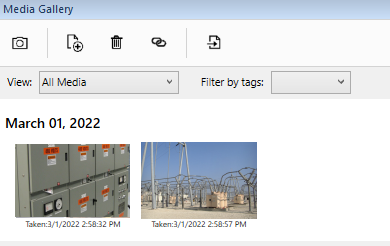
In EasyPower, open the Media Gallery.
-
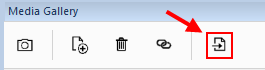
Click Import photos taken with an external camera.
-
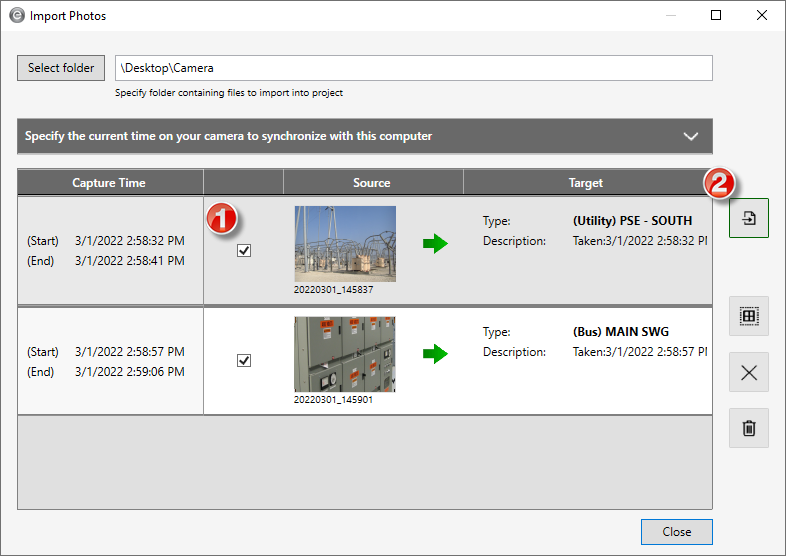
Click Select folder to specify the folder in which the images are stored.
-
Select the checkbox for each image you want to import, and then click Import selected item.
- Click Close. The placeholder images are replaced with the imported images.
- Note that the imported images are automatically linked to the appropriate equipment.
- Save the file to ensure your images are stored with the one-line.

Note: If your camera's time is significantly different from your computer's time, you may need to make adjustments for the images to synchronize properly. See Synchronize the Camera and Computer Time for more information.