Taking Photos With a Built-in or Attached Camera
You can take photos with a built-in or attached camera from within EasyPower. You can take photos within the Media Gallery or from within the Media Gallery tab on individual equipment items using the Capture Image icon.
![]()
Figure 1: Capture Image Icon in the Media Gallery
- When you take photos from within the Media Gallery, those photos are added to the project can later be linked to individual equipment items, if desired.
- When you take photos from within the Media Gallery tab of an equipment item, the photos are automatically linked to the selected equipment item.
Note: It is also possible to take photos with an external camera. See Synchronizing Images Taken with an External Camera for more information.
To take a photo with a built-in or attached camera:
- Open the Media Gallery or click the Collected Data link on an equipment item to open the Media Gallery tab on the item.
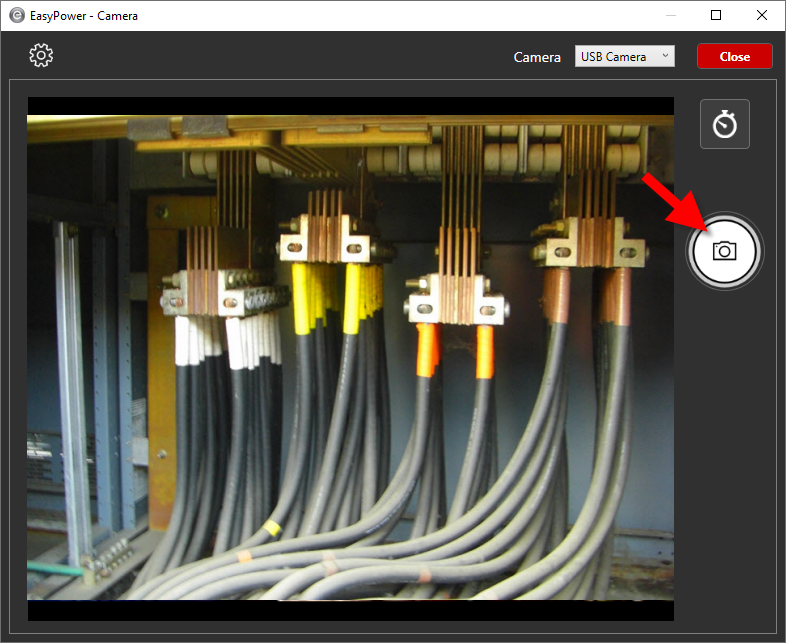
- Click Capture Image
 .
. - Click Take photo with device's camera.
- You can click the Settings
 icon to set the settings for the images. This includes specifying the photo quality, selecting whether the camera can use location information, and changing the privacy settings.
 - You can select the camera that you want to use, if more than one is available.
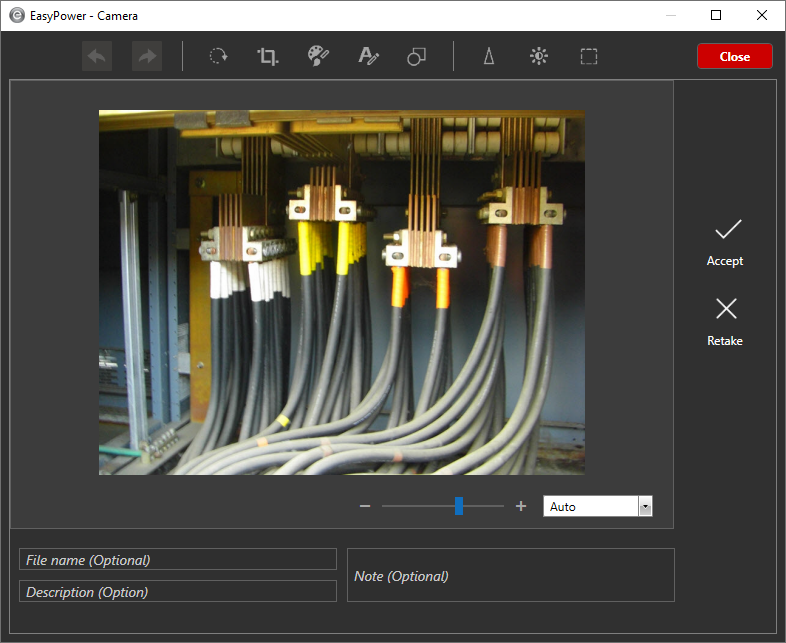
- Click Take Photo.
- The photo is displayed, and additional editing options are available. You can choose to Retake the photo if you don't want to save the photo.
- The editing options include the following:
- Click Accept to add the photo to the Media Gallery.

Note that you can select the checkbox to avoid seeing this prompt in the future–the program will remember the selection you made and always use that option.

Note: Higher quality images affect file size, which in turn can affect Media Gallery performance.

|
Option |
Description |
|---|---|
|
|
Use to undo or redo recent changes to the image. |
|
|
Rotates the image by 90° each time you click the button. |
|
|
Crops the picture based on your selection. |
|
|
Set the brush size and color for drawings on the image. |
|
|
Draw text on the image. You can specify the text, font size, font family, font style, text color, horizontal position, vertical position, and rotation. |
|
|
Add shapes to the image. You can select the shape, fill, border thickness, and border color. |
|
|
Sharpen the clarity of the image. |
|
|
Adjust the brightness and contrast of the image. |
|
|
Select a portion of the image and perform additional editing including drawing, hue shift, saturation, contrast, sharpening, and blurring. You can also invert the colors in the image. Click Commit Selection to save your changes. |
|
Zoom |
Specify the zoom selection for the image. You can adjust the slider bar or select a percentage from the drop-down list. |
|
File Name |
Specify the file name for the image if you do not want to use the default names the program assigns. |
|
Description |
Add a description to the image. The description is displayed in the Media Gallery. |
|
Notes |
Add notes to the image. The notes are displayed in the Media Gallery. |
 Undo, Redo
 Rotate 90
 Crop
Crop Draw
Draw Draw Text
 Draw Shapes
 Sharpen Image
 Contrast
 Selection