Installing the EasyPower Add-in to Revit
Before you can export and import Revit data to or from EasyPower, you must install the EasyPower Revit Integrator add-in to the Revit program. The steps to do this are described below.
Note: Revit versions from Revit 2017 up to and including Revit 2022 are compatible with the EasyPower integration. An EasyPower Revit Integrator license is required to exchange data with Revit.
- Close Revit if it is open.
- Download the EasyPower Revit Integrator app from the Autodesk App Store.
- Double-click on the downloaded file to start the installation process.
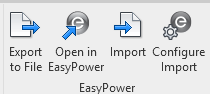
- Start Revit and confirm that the EasyPower Revit Integrator add-in is now displayed on the Add-ins tab.
Note: Alternatively, you can install the Revit add-in as part of the EasyPower installation by selecting the Custom option on a new installation or the Modify option on an existing installation. See Performing a Custom Installation for more information.
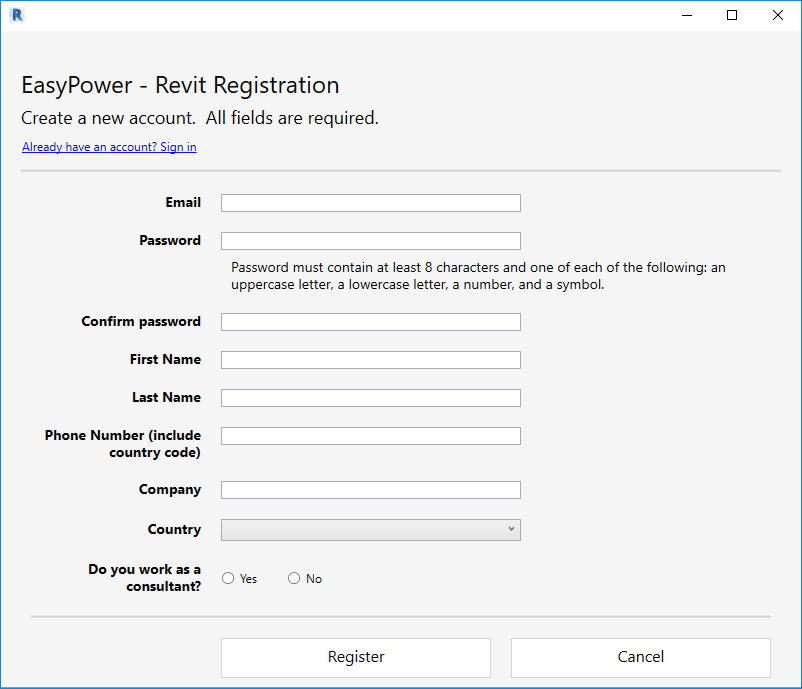
The first time you use the add-in, you will be asked to register with EasyPower. If you already have an existing account (such as for use with EasyPower OnSite), you can use your existing credentials. Otherwise, submit the form to register.
Note: If you later need to uninstall the add-in, you can do so from the Windows Control Panel.