Tutorial - Revit® Integrator
This tutorial describes how you can use Revit Integrator to create an EasyPower one-line from a Revit project and share data between the two programs. To perform the steps in this tutorial, you must have installed a supported version of Revit and have also installed the Revit Integrator add-in.
Creating a One-line from the Revit Project
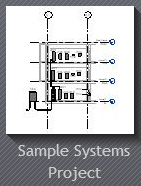
- In Autodesk® Revit®, open the Sample Systems Project.
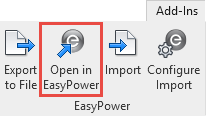
- Click the Add-Ins tab, and then click Open in EasyPower.
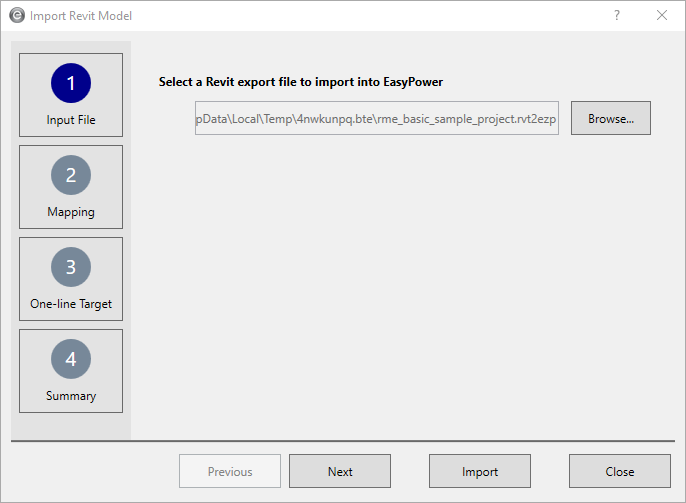
- The Import Revit Model dialog box opens. The input file is already selected so you don't need to select a different file.
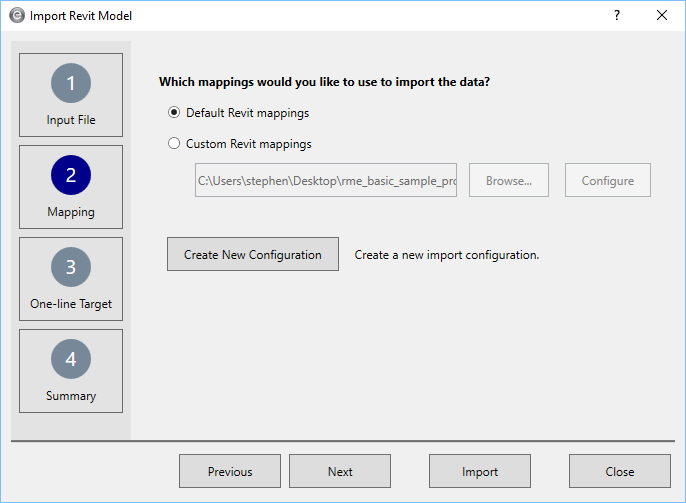
- Click Mapping. For this example, we will use the Default Revit mappings, but notice that you can also create custom Revit mappings and create new configuration files here. This gives you additional control over how data is imported and lets you create configuration files that you can reuse in future imports.
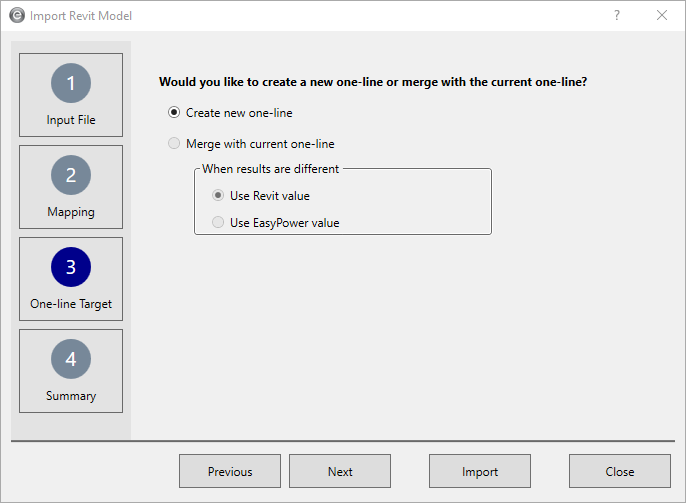
- Click One-line Target. For this example, we will select Create new one-line, but notice you can also merge the import data with a current one-line.
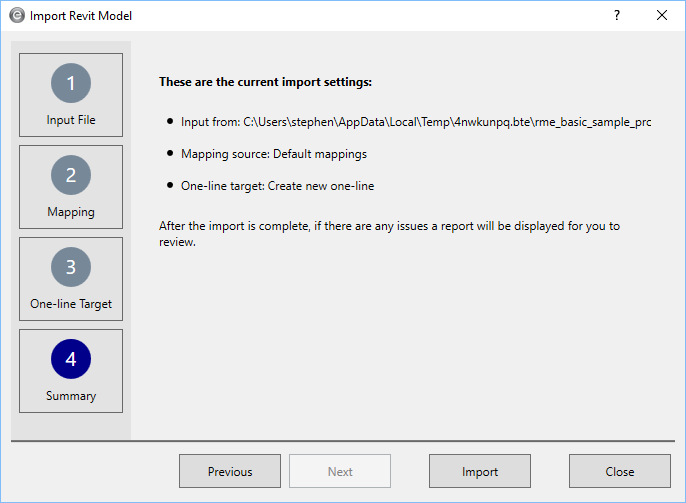
- Click Summary to review your import settings, and then click Import.
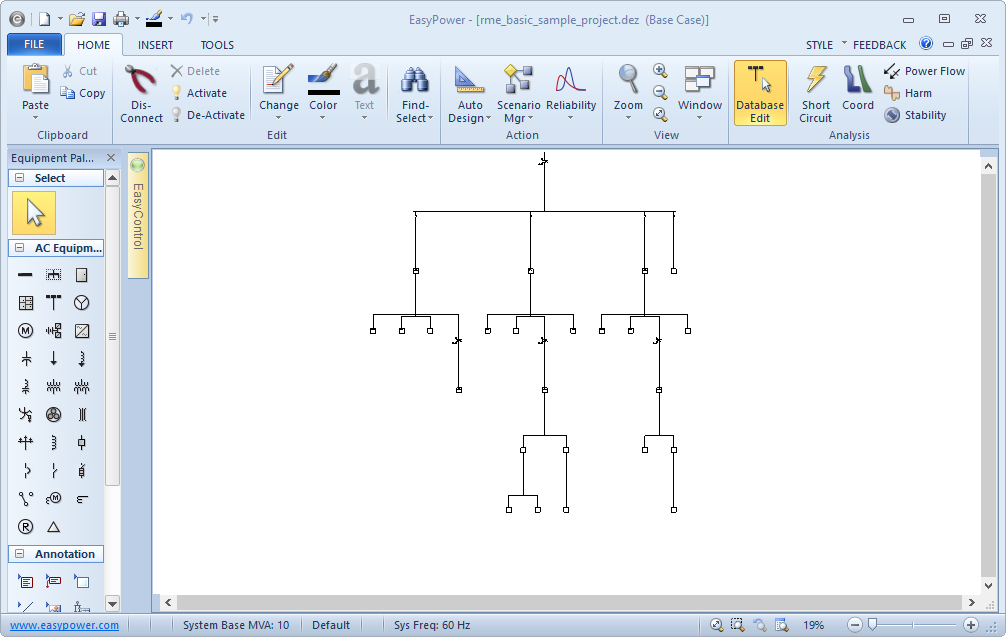
- EasyPower displays the one-line it created from the Revit project. The program also creates a report that describes any issues that were discovered. To view the report, click Window > Import Results Report.

View the Imported Revit Data
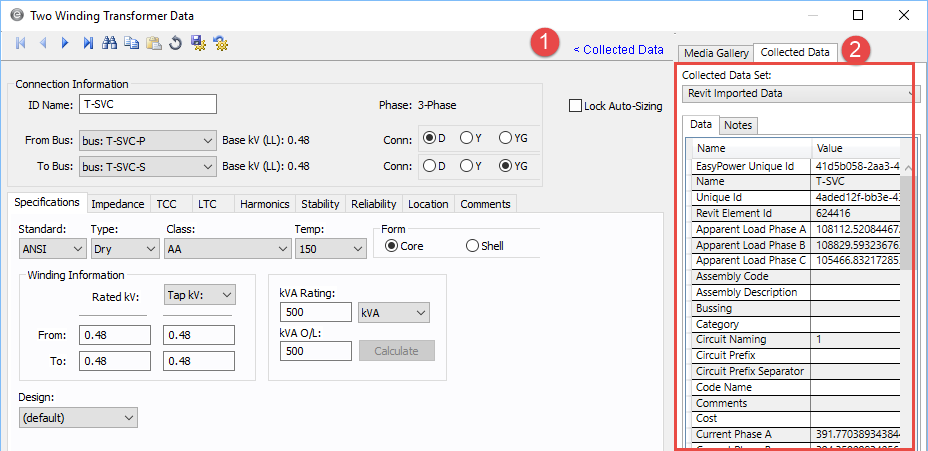
For each item on the one-line, you can view the data that was imported by selecting the Collected Data pane in the equipment data dialog box, and then clicking the Collected Data tab.
Updating the EasyPower File with Revit Changes
As the data changes in the Revit project, you can send the changes to EasyPower to update your one-line model. You have control over which changes are merged into EasyPower.
- In EasyPower, ensure the rme_basic_sample_project.dez file is still open. You can only merge data to an open one-line file.
- Select File > Import > Import from Revit® Integrator.
-
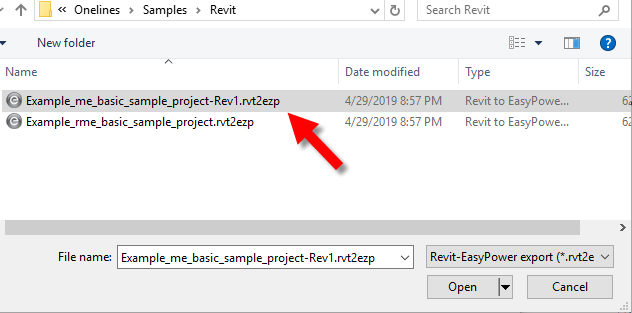
With Input File selected, click Browse, and then browse to the C:\Users\{username}\Documents\EasyPower 10.6\Onelines\Samples\Revit folder and select the Example_rme_basic_sample_project-Rev1.rvt2ezp file. This file includes changes that have been made to the Revit project. Click Open.
Note: Do NOT select the file in the Temp folder that was created earlier in this tutorial. You need to browse to select the specified file, which represents revisions to the Revit model.
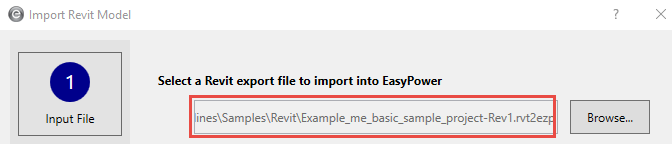
- In the Import Revit Model dialog box, with Input File selected, notice that the file you selected in step 3 is displayed.
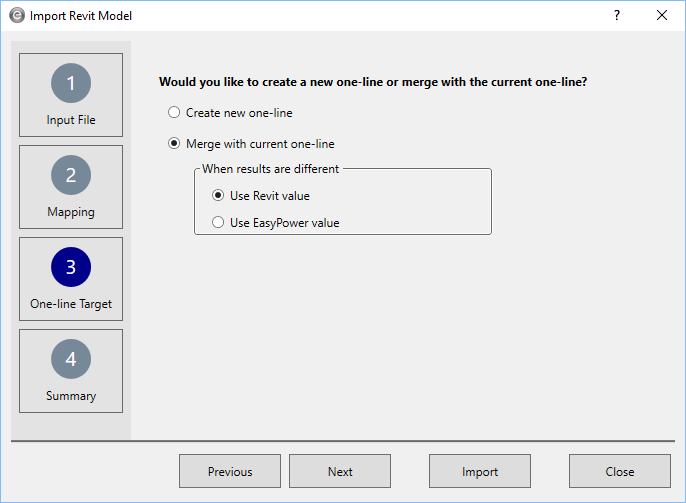
- Click One-line Target and then select Merge with current one-line. Notice that you can select to use Revit or EasyPower values when the results are different. This just sets the default values—you can still make changes prior to the actual merge. For now, we will select Use Revit value.
- Click Summary to review your settings, and then click Import. The Project Merge dialog box is displayed.
- On the Equipment to Update in EasyPower tab, select the first equipment item, panel LP-1B. Notice that the EasyPower column displays a bus rating of 100 but the Revit column, which is highlighted green, displays 250, and the Use column displays 250 (which is the Revit value). You can select the value you want to use by clicking on it.
-
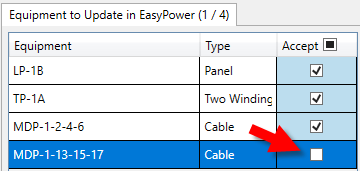
In some instances, you may not want to accept all the merge changes. For any change you do not want to merge, make sure the Accept check box is not selected.
- You can continue selecting the values you want to merge into the EasyPower one-line. When you are finished, click Merge, and then click Yes. Any items where you do not click the Accept check box are ignored by the merge. The program displays a report to tell you what has changed.
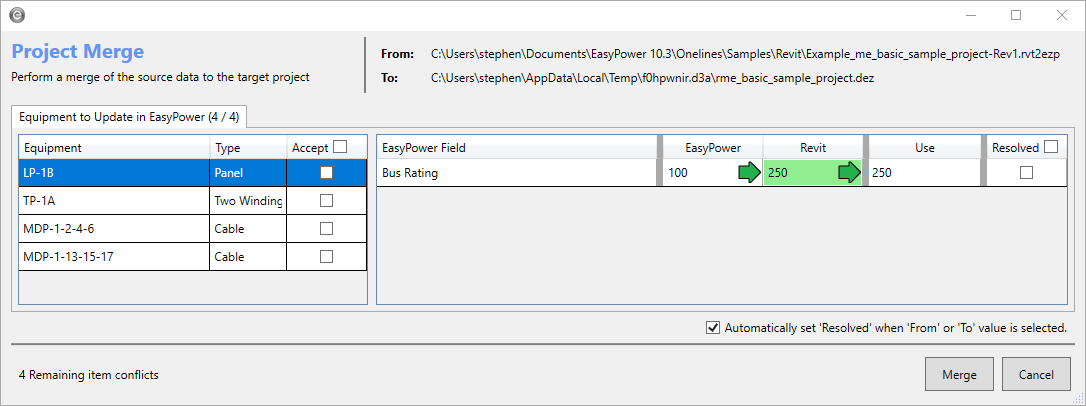
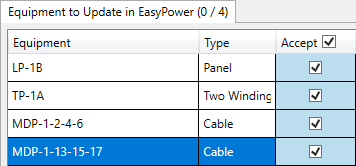
Note that there can be multiple tabs at the top of the dialog for equipment to update, add, or delete. In this example, there is only one: Equipment to Update in EasyPower. When you are merging your own files, make sure to watch for the additional tabs.

If you select the Resolved check box, it will automatically use the default value you specified in Step 5.

However, for this tutorial, go ahead and accept all the changes.

Perform Design and Analysis in EasyPower
After you create your EasyPower one-line from the Revit data, you can perform design changes and analysis on the one-line. This includes performing auto design, performing short circuit and arc flash analysis, and calculating voltage drop in power flow. For information on those features, please refer to the additional tutorials. Note that you may need to add additional components (such as a utility power source) and input additional data (such as transformer impedances) to be able to perform analysis.
For the example, add a utility, input the transformer impedances, and perform Auto Design on the entire system. Ensure you can open the Short Circuit focus, and then fault all the buses.
Export to Revit
After you have made changes to your EasyPower one-line, you can export the changes into a file that you can then import into Revit. To create the export file in EasyPower:
- In the Database Edit focus, click File > Export > Export to Revit® Integrator.
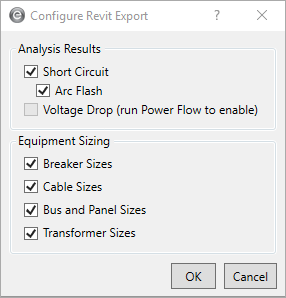
- In the Configure Revit Export dialog box, select the items you want to export. Then, click OK.
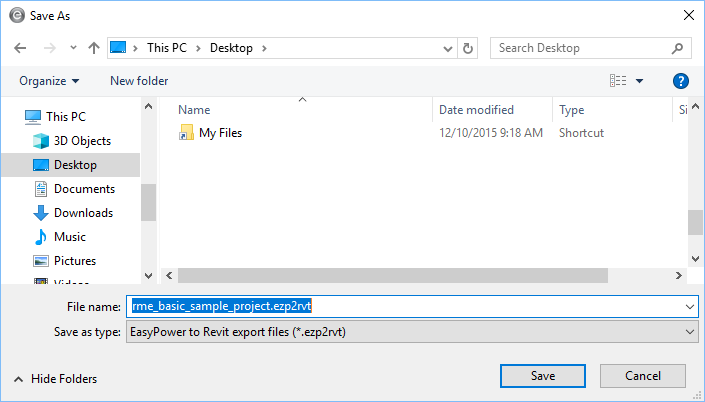
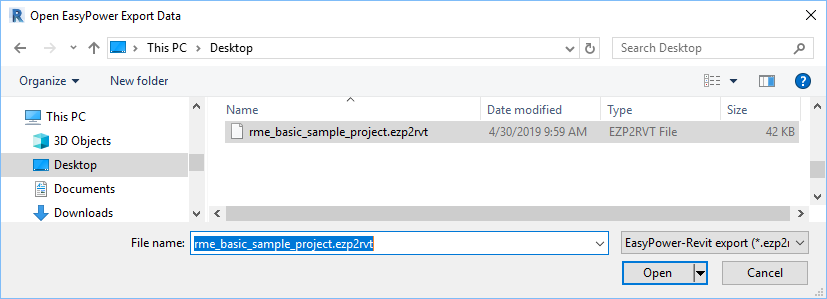
- The program asks you for a file name and location. You can use whatever name you like, but the file must have a .ezp2rvt extension. To avoid conflicts with other files, let's put our file on the Desktop. Make note of the file location, and then click Save.
Note: Power Flow Voltage Drop is only available if you run a power flow analysis and perform voltage drop calculations.
Import to Revit
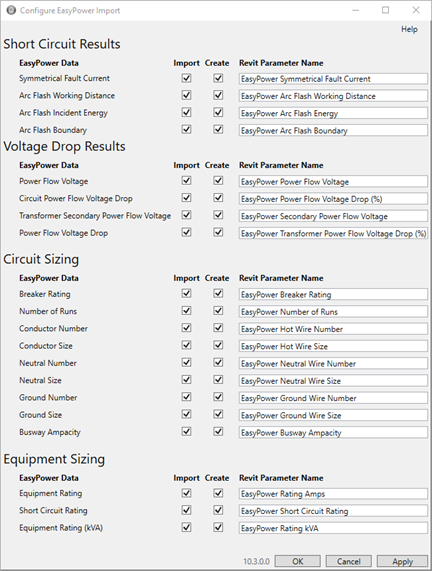
You can now import the file you created in EasyPower into Revit. Note that you can configure whether information is imported and also control which parameters are used by clicking the Configure Import button prior to importing. For this example, we will use the default selections.
To import the file:
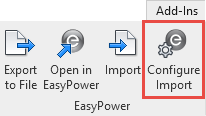
- In Revit, on the Add-Ins tab, click Import.
- Select the file you created in the previous step, and then click Open.
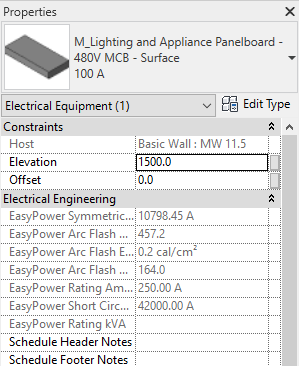
- Select panelboard LP-1B on the drawing and then look at the Properties pane on the left. Notice all of the EasyPower values under the Electrical Engineering heading. (Your information may appear differently than shown depending on what you changed in EasyPower.)

Linking a DXF file to Revit
EasyPower can create DXF files that you can then link to in your Revit project. We have created a sample DXF file to demonstrate this feature.
-
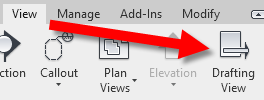
In Revit, from the View menu, click Drafting View.
-
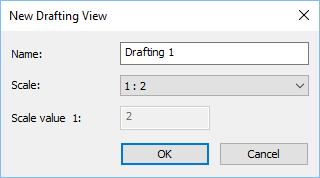
Provide a drawing name and set a scale value, and then click OK.
-
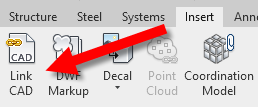
On the Insert menu, click Link CAD.
-
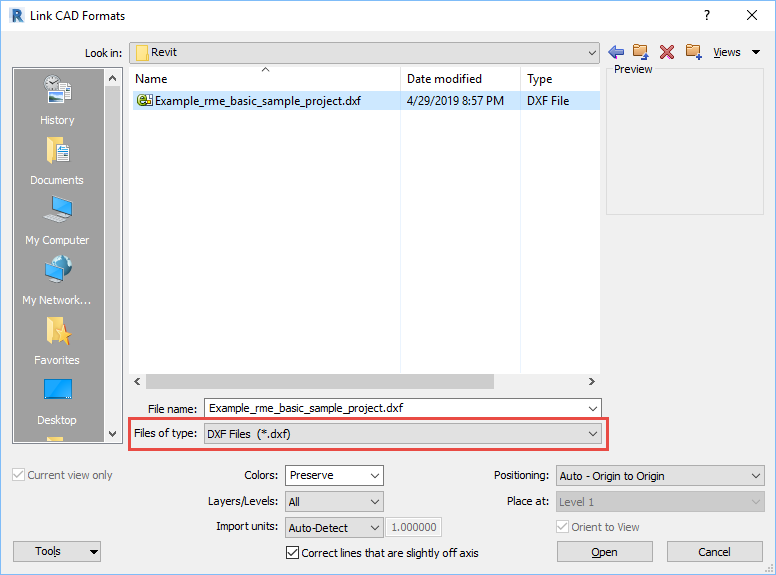
We have already created a drawing file for you to use in the example. In the Link CAD Formats dialog box, browse to the Revit samples folder located at: C:\Users\{username}\Documents\EasyPower 10.6\Onelines\Samples\Revit, change Files of type to DXF Files (*.dxf), and select the Example_rme_basic_sample_project.dxf file, and then click Open.
-
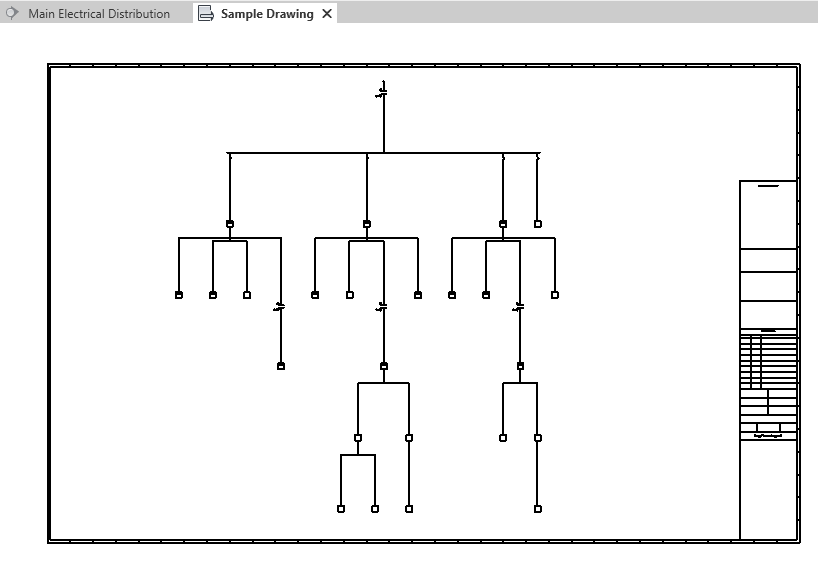
The one-line drawing is displayed in Revit. You can zoom in to view the one-line details.
Conclusion
This has been a brief overview of EasyPower’s Revit Integrator. The EasyPower Help topics cover this and other features in greater
depth. To open Help, click  Help in the upper-right corner of the EasyPower window or press F1.