Performing a Custom
You can perform a custom installation to specify which components you want to install. You would use the option to install EasyPower with a different language, for example, or to install a Revit™ integration.
-
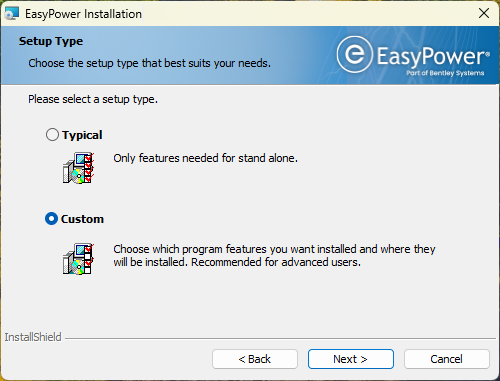
Start the installation as described in Performing a Typical Installation, but when you reach the Setup Type dialog box, select Custom.
-
Click Next.
-
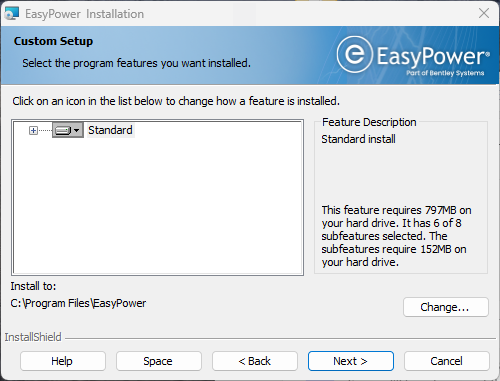
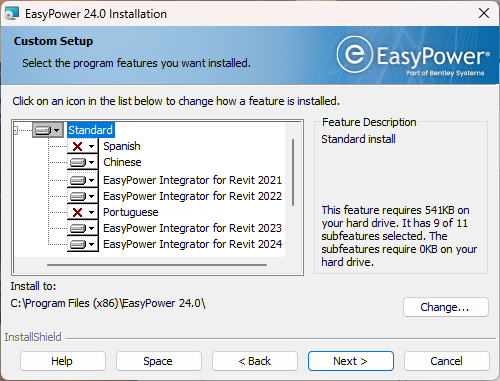
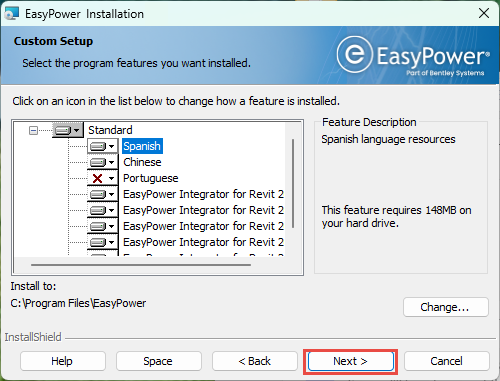
Click the icon to the left of Standard to display the custom installation options, and then select the option you want to install.
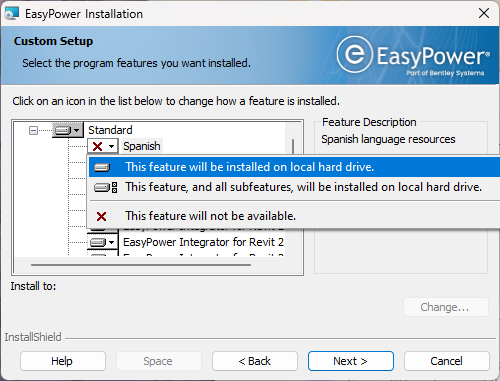
- Click This feature will be installed on local hard drive.
- Click Next.
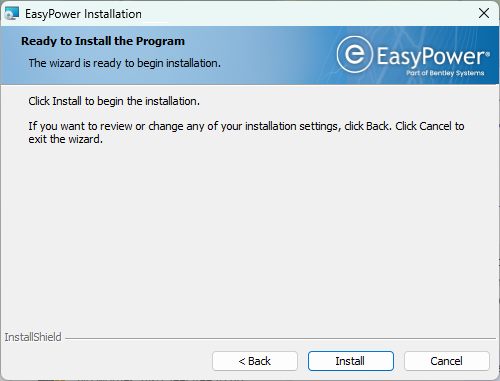
- Click Install.
- When the installation is complete, click Finish.

After Installing
The first time you run your software, you will need to sign in to the CONNECTION Client. Doing so activates your EasyPower license and features. See SES Activation and CONNECTION Client for more information.
If your EasyPower data files are being shared across a network, be sure to set your file locations to point to the shared location. See Sharing the EasyPower Data for more information.