You can customize the text that appears on your one-lines. You can format the appearance of the text for individual equipment items and can specify display conditions that control when the text appears. After you create a custom text template, you can select it and embed it on your other one-lines.
To customize the one-line text for an item:
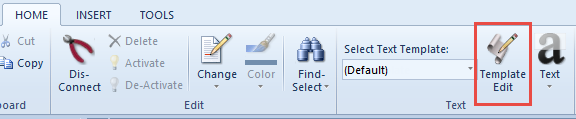
- From the Home tab, click Template Edit.
- You can edit an existing text template using the Edit button, or create a new text template by clicking Add.
- The Edit option enables you to change an existing template. Use this if you already have a custom template to which you want to make changes.
- The Add option enables you to create a text template from a blank template. You will need to set up the text customizations for each equipment item type.
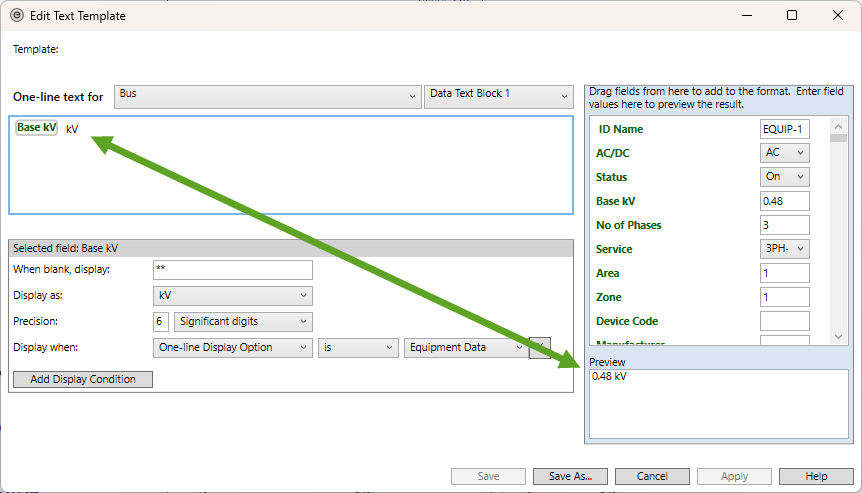
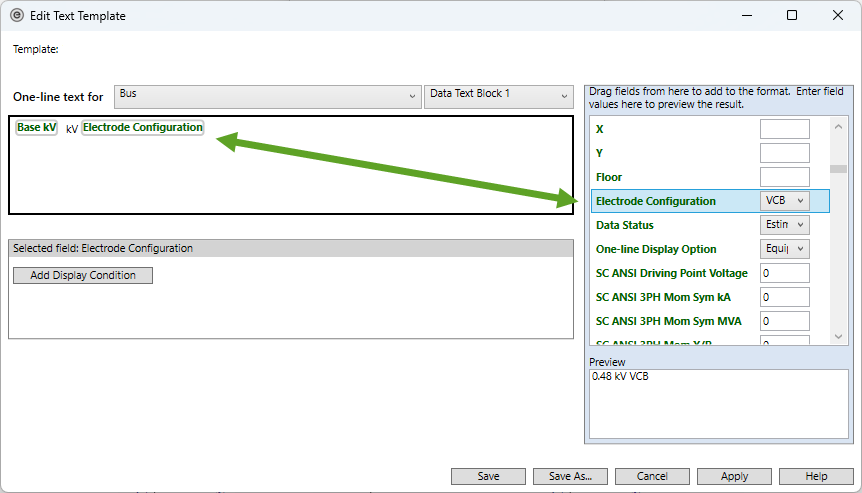
- Next to One-line Text for, select the item for which you want to format text. For example, we have selected to edit a bus. The current format appears in the format box and in the Preview area on the lower right.
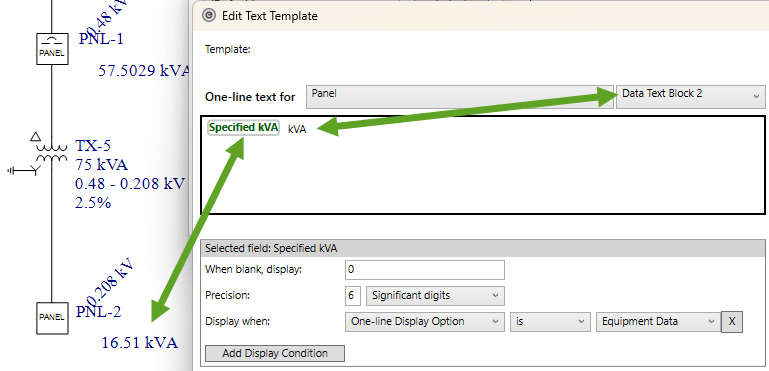
- Most items only have one Data Text Block you can format; however, buses, panel schedules, MCCs, and tool points of connection have two. The first text block appears above the second on the one-line.
- Drag the green field names from the column on the right to the area in the format box where you want them to appear. Alternatively, you can double-click on the field name to place the selected field in the format box at the location of your pointer.
- You can type static text in the format box, if desired. Use the Preview area to monitor spacing. In the example in the figure above, "kV" is static text. "VCB" is variable text that could change depending on the electrode configuration data entered in the Bus Data dialog box.
- Press ENTER at the end of a line to start a new line of text.
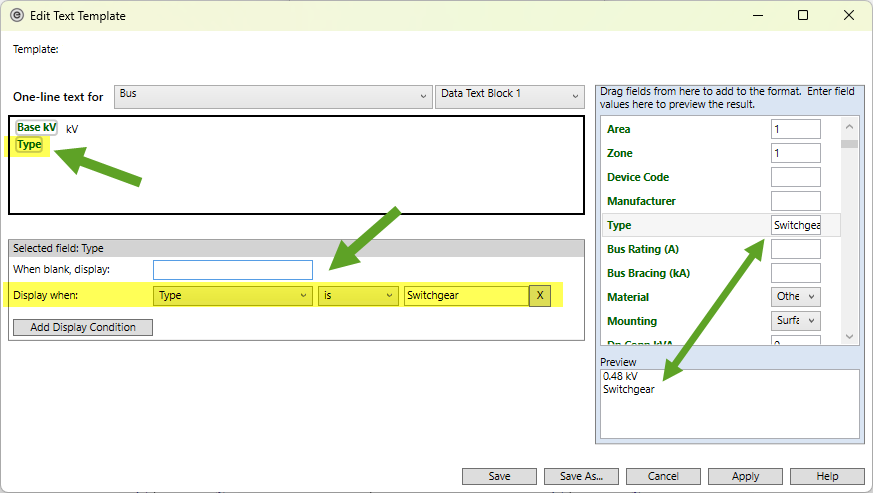
- To add display conditions, select the field or text for which you want to create a display condition, click Add Display Condition, and then select the display options. This controls whether the field or text appears on the one-line based on the conditions you select. See Adding Display Conditions for more information.
- Use the column on the right to set preview values and to see a preview of your changes. In the example below, we have added the field Type to the format box and set a display condition to display the text if the value is set to "Switchgear." In the preview area, the text "Switchgear" appears. If you type a different preview value next to Type, the value no longer appears in the preview.
- For number values that display decimals, you can specify the precision in the number of decimals displayed. See Decimal Precision for more information.
- When you are finished making changes, do one of the following:
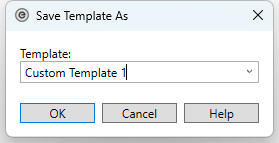
- Click Save As to save your changes to a new custom template. You can type a new template name and then click OK.
Click Save to save your changes to an existing custom template.
-
Click Close to close the Text Templates dialog box.
- Your custom template is displayed in the Select Text Template list and is automatically applied to the one-line.

If you have a long series of text on a single line that you want to be able to separate (for example, to apply different display conditions to each set of text), insert a text separator. See Inserting a Text Separator for more information.
Below, we have typed a different value from the display condition. The Preview area shows how the information appears on the one-line when the display condition is not met.
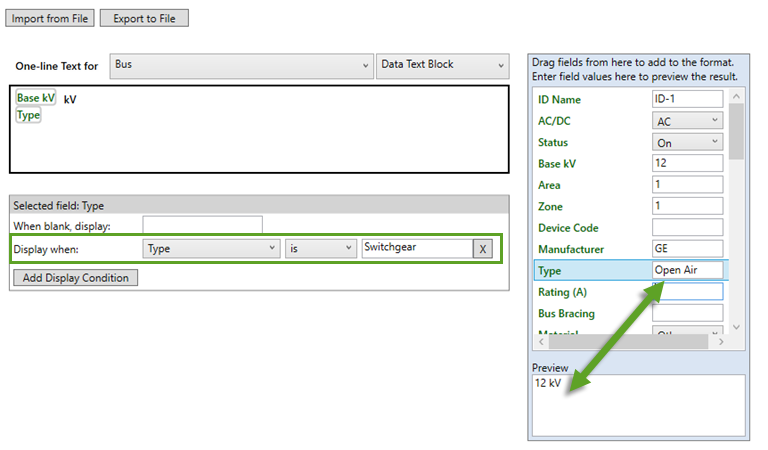
Note: The preview text is only used as an example. The actual text that appears on the one-line is based on the information entered in the item's data dialog box.
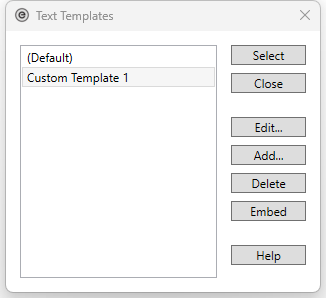
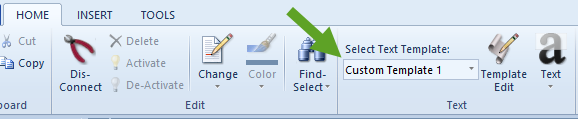
If you create multiple custom text templates, you can use the Select Text Template option to apply the desired template to the one-line.