Note Properties
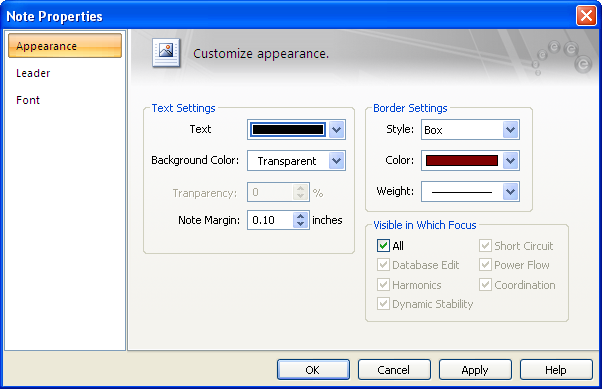
Figure 1: Appearance Tab of Note Properties Dialog Box
Click Tools > Note to set note properties.
- If you select a note first, you are setting the properties for the selected note. Notice that the dialog box title is Note Properties.
- If you do not select a note first, you are setting the default properties for notes that are not yet created. Notice that the dialog box title is Default Note Properties. These default settings are saved with the database file.
Appearance Tab
Leader Tab
Click the Leader tab in the Note Properties dialog box to display the leader properties. In the context of notes, a leader is a line that points from the note box to an item on the one-line.
Note: If you are viewing Default Note Properties (see Changing Note Properties), you will be setting properties for leaders not yet created, and the Include Leader fields are not visible.
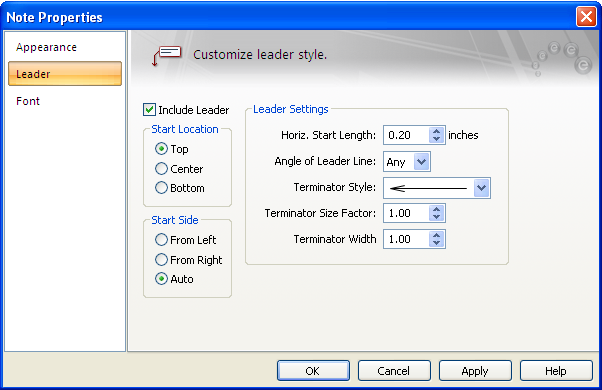
Figure 2: Leader Tab of the Note Properties Dialog Box
This dialog box gives you the following choices:
| Option | Description |
|---|---|
| Include Leader | Select this check box if you want a leader on your note so that it can point to something specific on the one‑line. If you select this box on a note that was originally added without a leader, the target point will be set to an arbitrary location that you will want to drag into position later. See Adding a Note with a Leader for details. |
| Start Location | Select where the leader starts, such as the Top, Center, or Bottom of the text. If the choice is Top, the leader is aligned with the first line of text. If the choice is Bottom, the leader is aligned with the last line of text. |
| Start Side | Select From Left to have the leader to start at the left side of the text, From Right to have the leader to start on the right side of the text, or Auto to have the program automatically determine whether start left or right depending on the location of the target point. |
| Start Length | The length of the horizontal line segment which starts the leader, expressed in inches. |
| Angle of Leader Line | After the initial horizontal segment, you can have the main leader line be constrained to a certain angle. This makes it possible to have a consistent appearance from one note to the next. |
| Terminator Style | How you want the leader to end. Select a terminator from the list. |
| Terminator Size Factor | Each leader terminator style has a default size. You can modify that size by applying a size factor other than 1.0. For example, if you want an arrowhead to be twice as big as the default, you would type 2.0 in this field. This factor is applied to both the length and width of the terminator to preserve the shape. |
| Terminator Width Factor | Each leader terminator style has a default shape. You can modify that shape by applying a width factor other than 1.0. For example, if you want an arrowhead to be twice as wide as the default shape would be, you would type 2.0 here. |
Fonts Tab
EasyPower offers a large number of fonts with the ability to vary sizes and styles so you can customize your notes. Click the Font tab in the Note Properties dialog box to display the font properties.

Figure 3: Font tab of Note Properties Dialog Box
Here you choose the Font, Style and Size of the text in the selected note. If no notes are selected, these are the default settings for any notes you create later.
More Information
| Making One-line Diagrams | |
| Notes (Free Text) on One-line |