Importing from Revit to EasyPower
In EasyPower, you can take the file you exported from Revit and import it into a one-line. The first time you do this, you will create a new one-line. Afterwards, you can import Revit data back into the one-line you initially created.
Note: You can also export from Revit and import into EasyPower in a single step by selecting Open in EasyPower from within Revit. This is typically only done the first time you create the EasyPower one-line. See Opening EasyPower from Revit for information. To update an existing EasyPower one-line, use the Export to File option instead.
For information on how load information is imported, see Importing Load Units and Demand Factors.
Import the Revit export file into EasyPower, as follows:
- The first time you import the file, open EasyPower, but do not open a one-line.
- From the File menu, click Import > Import from Revit® Integrator.
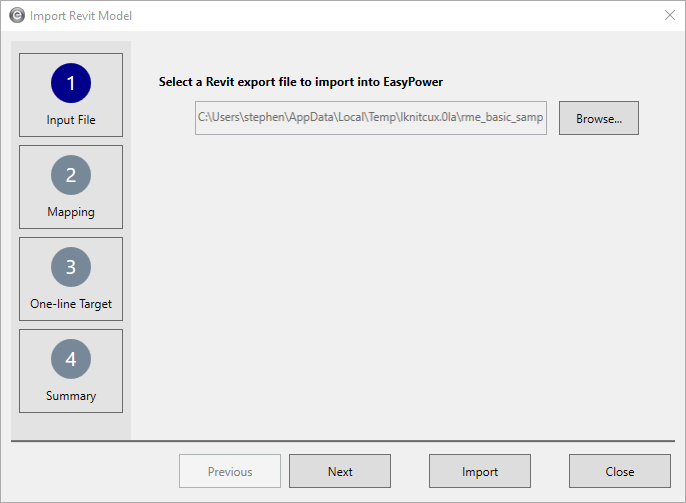
- Click Browse to select the file you created previously, and then click Open.
- Click Next. The mapping options are displayed.
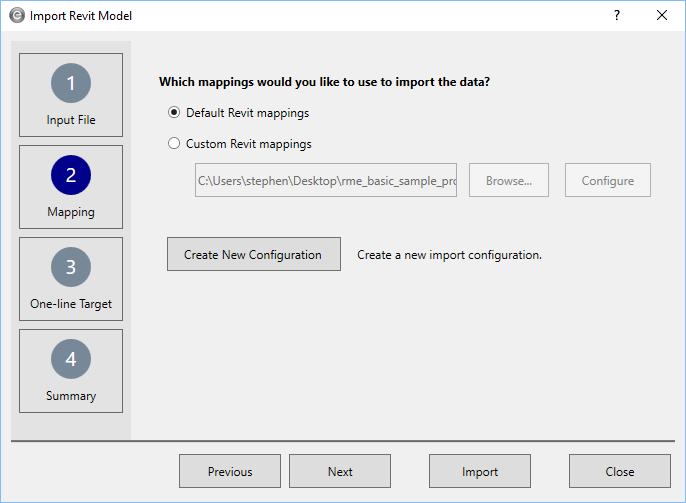
- You can choose to use the default mappings or you can create custom mappings. You also can configure the mapping, which will be discussed separately. For this example, select Default Revit mappings, and then click Next.
- You can now select whether you want to create a new one-line or merge with an existing one-line.
- The first time you perform the import, you want to create a new one-line.
- For subsequent imports, you can merge the imported data with an existing one-line and select which results you want to save if results are different. See Merging Revit Data to EasyPower for more information.
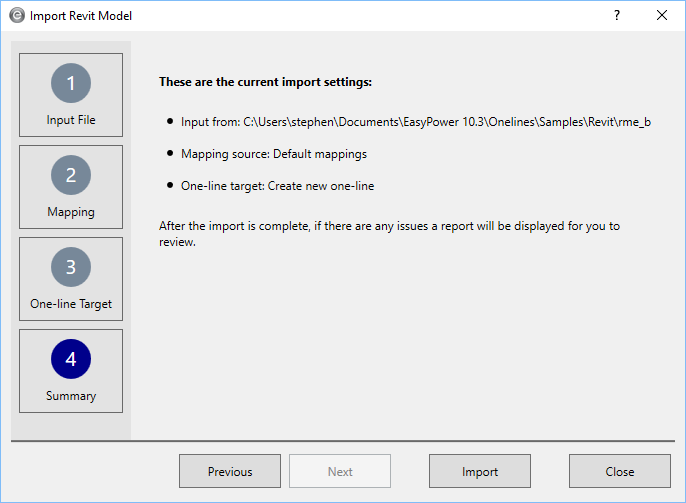
- The program displays a summary page to remind you of your selections. You can use the Previous button if you need to go back and change anything. When you are satisfied with the selections, click Import.
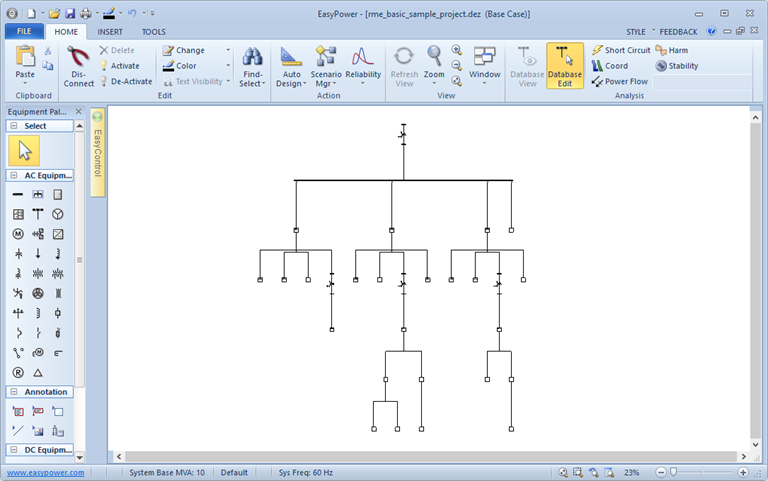
- This creates a one-line with all the electrical equipment in the import file. Note that there are two tabs created: one for the one-line display, and another for the Import Results Report.
- At this point, you can edit the one-line just as you normally would in EasyPower.
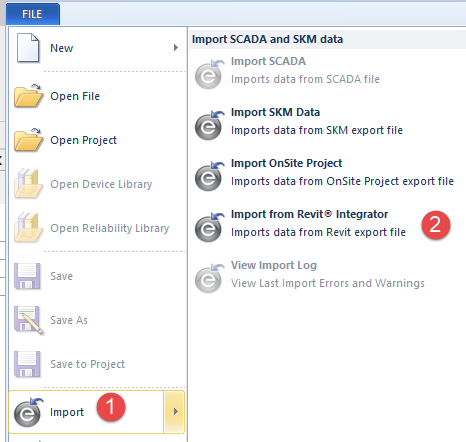
This opens the Import Revit Model dialog box.
Note: If you used the Open in EasyPower option instead of the Export to File option in Revit, this automatically creates a temporary export file. In this case, you do not need to browse to select an export file.
After you make your selection, click Next.

The program assists you by creating a report of issues it found during the import. If no issues were found, no report is generated. Click Window > Import Results Report to see the errors and warnings. This is described in more detail in Designing the One-line and Performing Analysis.

You can view the imported data on the Collected Data tab of each item.
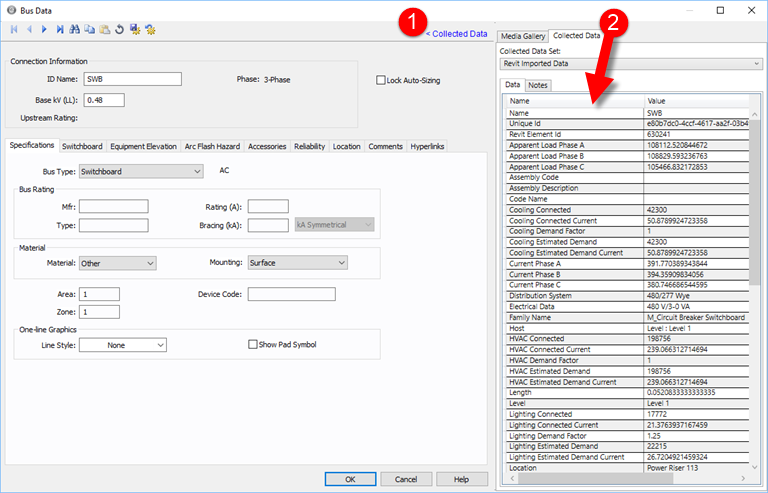
Figure 1: Collected Data Tab
In Step 5 of this topic, you also were given the option to create custom mappings for the import. We will discuss this next. However, if you plan to simply accept the default import settings, you can skip to Designing the One-line and Performing Analysis.
See Import Notes for additional information about the import.
More Information
| Using EasyPower with Autodesk® Revit® Software | Designing the One-line and Performing Analysis |
|
|