A typical installation is the type of installation most users will use to install EasyPower. The EasyPower software and data are installed onto the same computer.
Prior to installation, ensure your system meets the minimum System Requirements.
To perform the typical installation, do the following:
- Click the download link in the email you received.
-
After the download is finished, open your Downloads folder and double-click on the executable file (for example, EasyPowerSetup24.0.x.xxx) to start the installation process.
- If you receive a User Account Control message asking if you want to continue, click Yes.
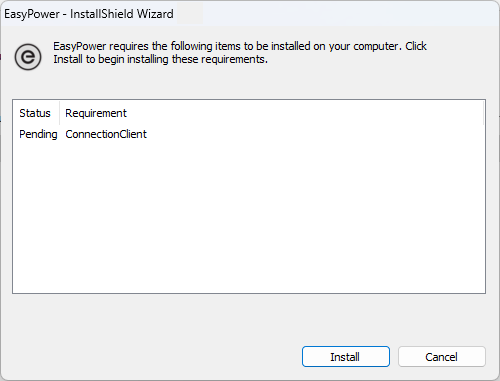
- EasyPower requires certain software to be installed before you can install the program. If the installation detects any prerequisite software is missing, you are asked to install the software. Click Install and follow the prompts to install the software. The steps to install may vary slightly depending on which prerequisites are needed.
- Proceed to Installing the CONNECTION Client.
Note that the CONNECTION Client software is required to run the EasyPower software, and it is installed automatically.
Installing the CONNECTION Client
The CONNECTION Client is used to activate your software with Bentley's licensing server. By creating an account in the CONNECTION Client, you are given access to the EasyPower program and features.
-
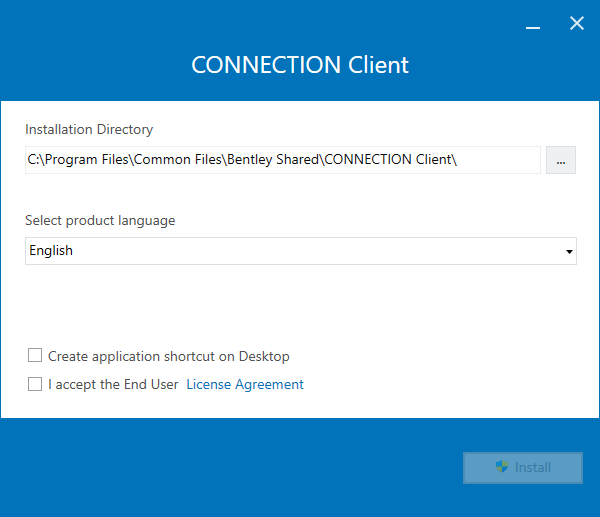
Select the installation directory, product language, and whether you want to create an application shortcut on the Windows Desktop.
-
You must select the I accept the End user License Agreement checkbox to install the software. You can click the link to read the license agreement.
-
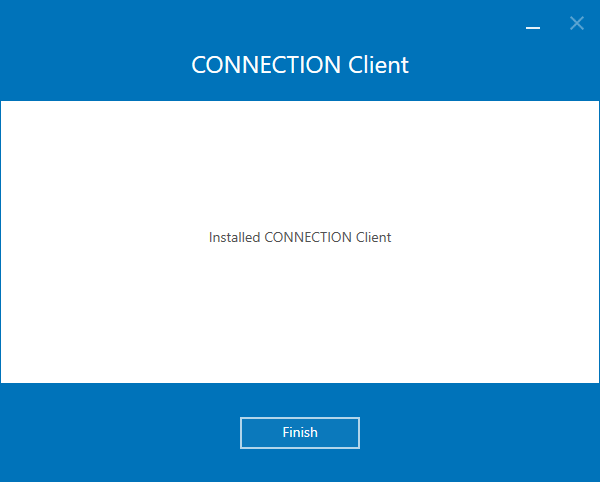
When the CONNECTION Client installation is complete, click Finish.
-
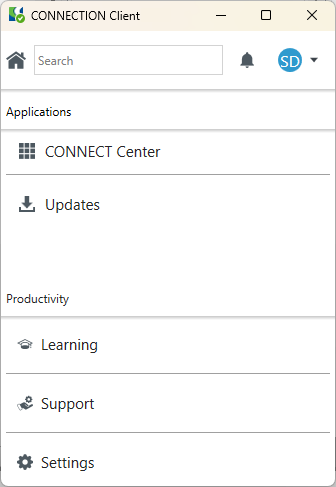
The CONNECTION Client is displayed.
- Proceed to Installing the EasyPower Software.

Click Install.
Installing the EasyPower Software
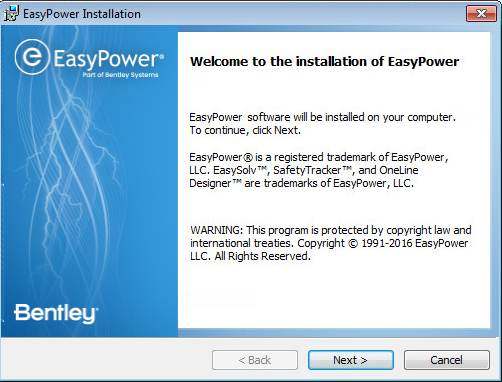
- In the Welcome to the installation window, click Next.
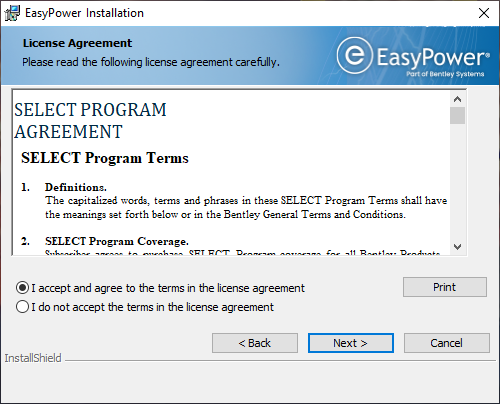
- In the License Agreement window, read the agreement, select I accept and agree to the terms in the license agreement, and then click Next.
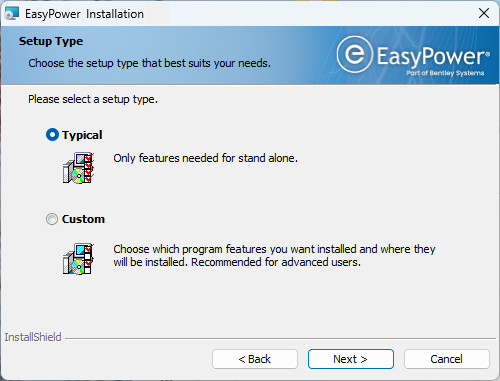
- In the Setup Type window, select Typical, and then click Next.
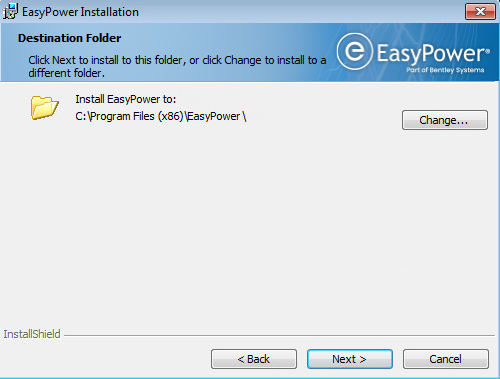
- In the Destination Folder window, you can accept the default location or click Change to select a different location. When you are finished, click Next.
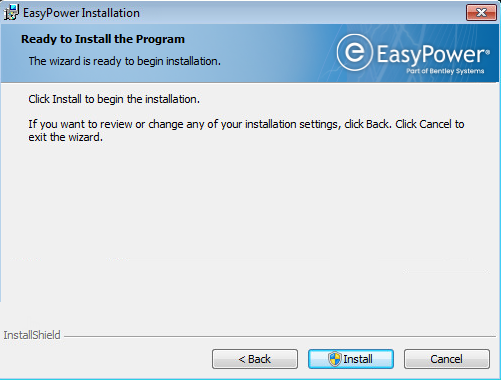
- In the Ready to Install the Program window, click Install.
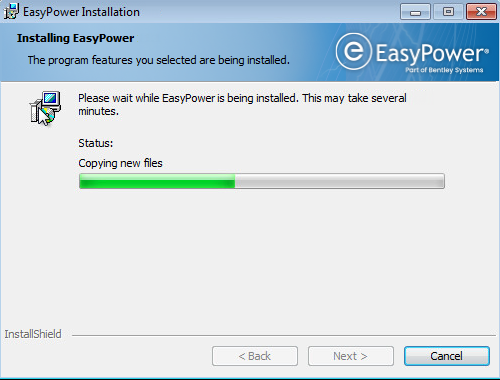
- The installation starts, and a progress window is displayed.
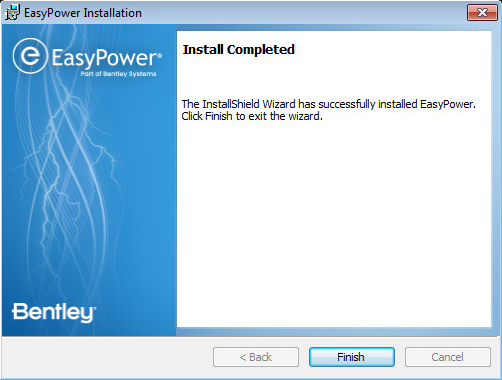
- In the Install Completed window, click Finish.
After Installing
The first time you run your software, you will need to sign in to the CONNECTION Client. Doing so activates your EasyPower license and features. See SES Activation and CONNECTION Client for more information.
If your EasyPower data files are being shared across a network, be sure to set your file locations to point to the shared location. See Sharing the EasyPower Data for more information.
