Antes de la instalación, asegúrese de que el sistema cumple con el mínimo System Requirements.
Para realizar la instalación típica, haga lo siguiente:
- Click the download link in the email you received.
-
After the download is finished, open your Downloads folder and double-click on the executable file (for example, EasyPowerSetup_EasyPowerx64_26.00.00.xxxx.exe ) to start the installation process.
-
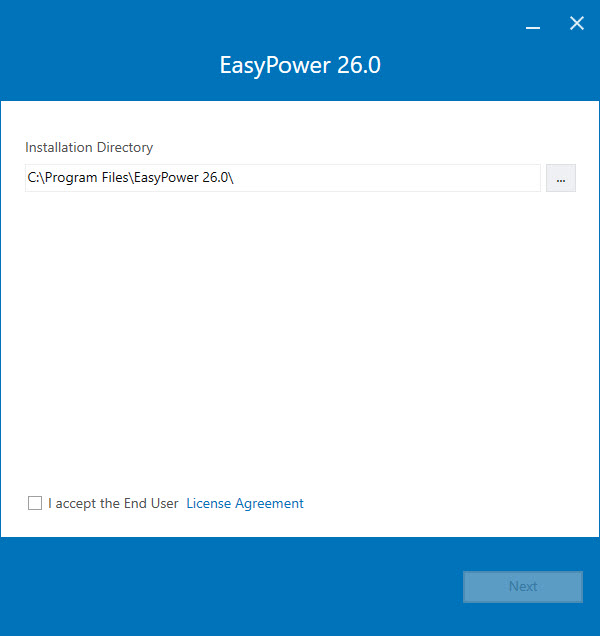
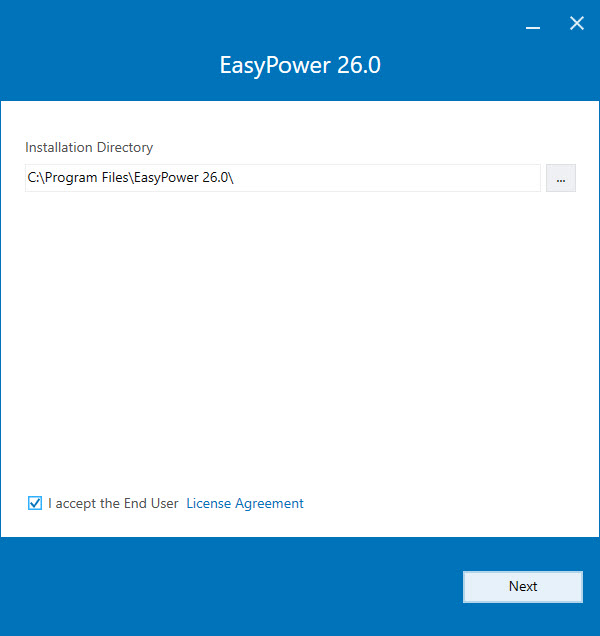
Click the License Agreement link to read the license agreement, and then select the I accept the End User License Agreement checkbox.
-
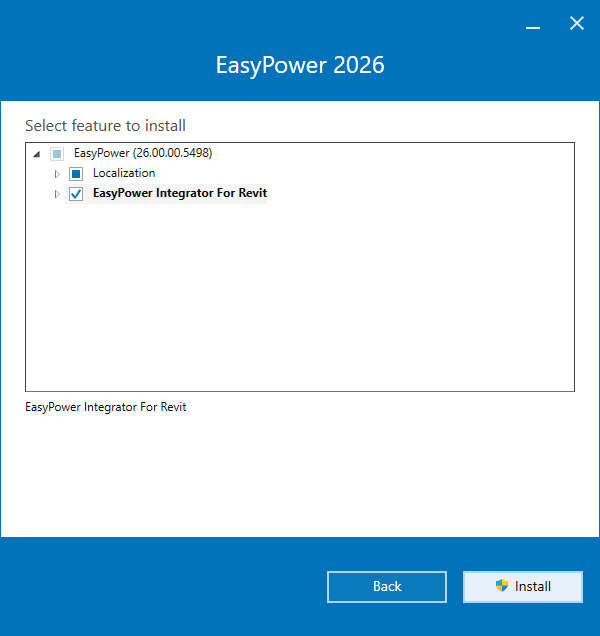
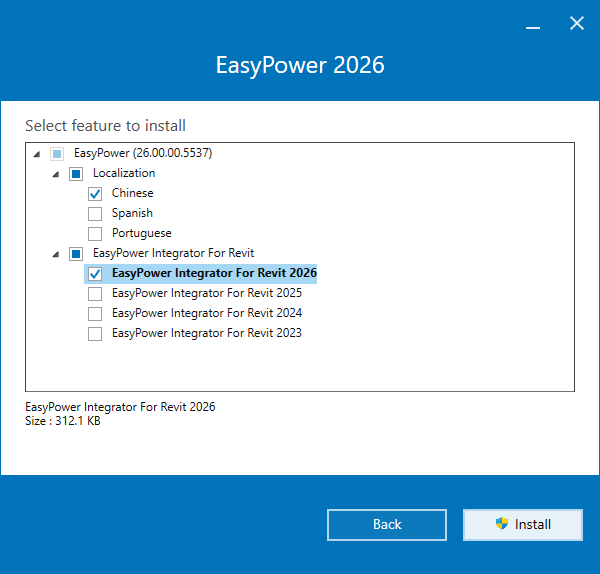
Select any additional features you want to install, including additional languages or the Revit Integrator.
-
Click the arrows to expand the list of options, then use the checkboxes to select or clear the options you want to install. For example, if you do not plan to use localized files or to integrate with Revit, you can clear all the checkboxes.
-
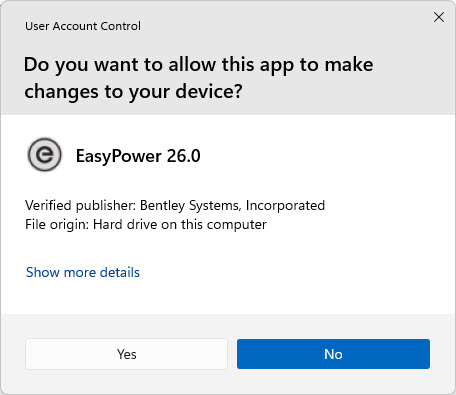
When you receive a User Account Control message asking if you want to continue, click Yes.
-
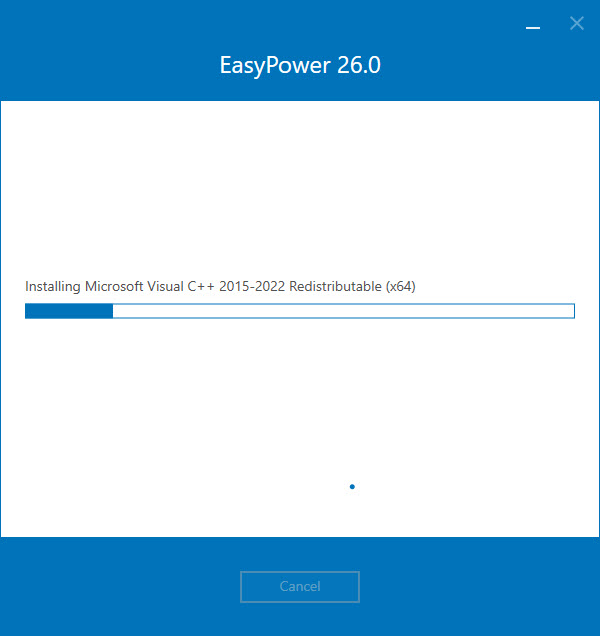
The program displays a progress bar to let you know the installation is installing any required components.
-
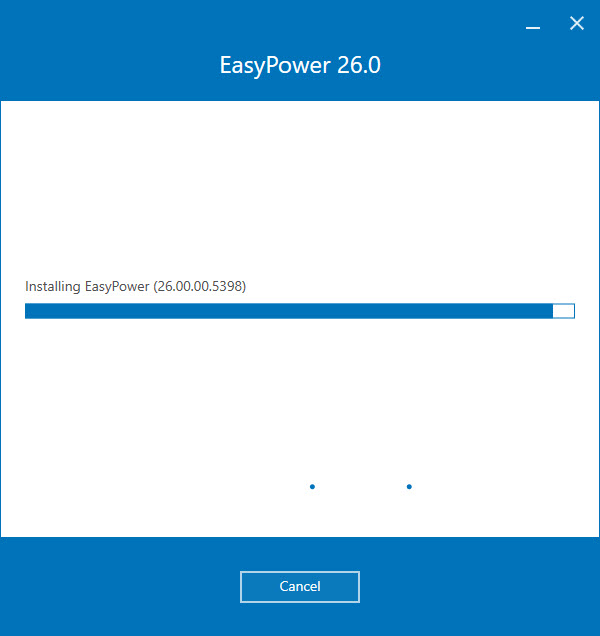
The program displays a progress bar to let you know the installation is processing.
-
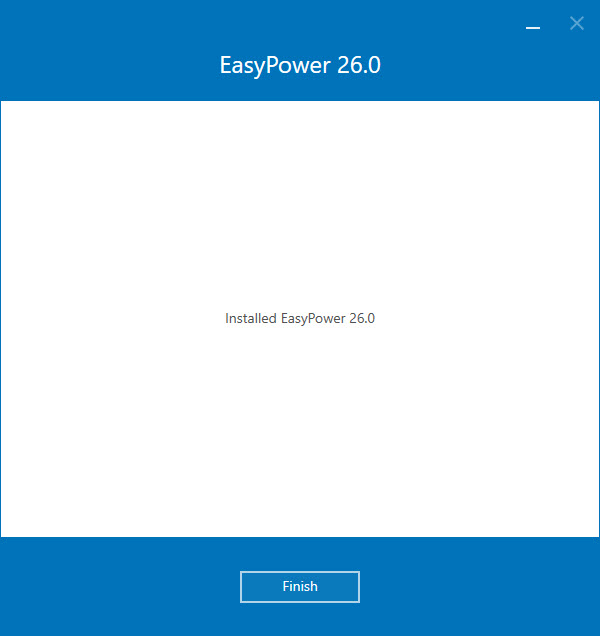
When the installation is complete, click Finish.
You can click Browse  to select a different installation directory, if needed.
Nota: You can run the installation again if you later decide you want to install any of these options.
Después de Instalar
The first time you run your software, you will need to sign in to the CONNECTION Client. Doing so activates your EasyPower license and features. Ver SES Activation and CONNECTION Client para más información.
Si los archivos de datos de EasyPower se comparten a través de una red, asegúrese de establecer sus ubicaciones de archivos para que apunte a la ubicación compartida. Ver Para Compartir Datos de EasyPower para más información.